笔记
本次计划
- 上次的标签接口调试 √
- 前端整合路由 √
- 前端开发(搜索页面、用户信息页、用户信息修改页) √
- 后端整合 Swagger + Knife4j 接口文档
- 存量用户信息导入及同步(爬虫)
Java 8
- stream / parallelStream 流失处理
- Optional 可选类
前端整合路由
Vue-Router:https://router.vuejs.org/zh/guide/#html,直接看官方文档引入 Vue-Router 其实就是帮助你根据不同的 url 来展示不同的页面(组件),不用自己写 if / else 路由配置影响整个项目,所以建议单独用 config 目录、单独的配置文件去集中定义和管理。 有些组件库可能自带了和 Vue-Router 的整合,所以尽量先看组件文档、省去自己写的时间。
项目开始
一、上次的标签接口调试
1.更改代码
上次的searchUsersByTags方法里写了两种查询方式,这次就把它们分开,写成两个方法 整理如下
/**
 * 根据标签搜索用户(内存过滤)
 *
 * @param tagNameList 用户拥有的标签
 * @return
 */
@Override
public List<User> searchUsersByTags(List<String> tagNameList) {
    if (CollectionUtils.isEmpty(tagNameList)) {
        throw new BusinessException(ErrorCode.PARAMS_ERROR);
    }
    //1.先查询所有用户
    QueryWrapper<User> queryWrapper = new QueryWrapper<>();
    List<User> userList = userMapper.selectList(queryWrapper);
    Gson gson = new Gson();
    //2.在内存中判断是否包含要求的标签
    return userList.stream().filter(user -> {
        String tagsStr = user.getTags();
        Set<String> tempTagNameSet = gson.fromJson(tagsStr, new TypeToken<Set<String>>() {
        }.getType());
        tempTagNameSet = Optional.ofNullable(tempTagNameSet).orElse(new HashSet<>());
        for (String tagName : tagNameList) {
            if (!tempTagNameSet.contains(tagName)) {
                return false;
            }
        }
        return true;
    }).map(this::getSafetyUser).collect(Collectors.toList());
}
/**
* 根据标签搜索用户(SQL查询)
* @param tagNameList
* @return
*/
@Deprecated
private List<User> searchUsersByTagsBySQL(List<String> tagNameList) {
if (CollectionUtils.isEmpty(tagNameList)) {
throw new BusinessException(ErrorCode.PARAMS_ERROR);
}
QueryWrapper<User> queryWrapper = new QueryWrapper<>();
//拼接 and 查询
//like '%Java%' and like '%Python%'
for (String tagName : tagNameList) {
queryWrapper = queryWrapper.like("tags", tagName);
}
List<User> userList = userMapper.selectList(queryWrapper);
return userList.stream().map(this::getSafetyUser).collect(Collectors.toList());
}2.测试接口
按照上次的测试方法,打断点debug 结果如下,成功查询到 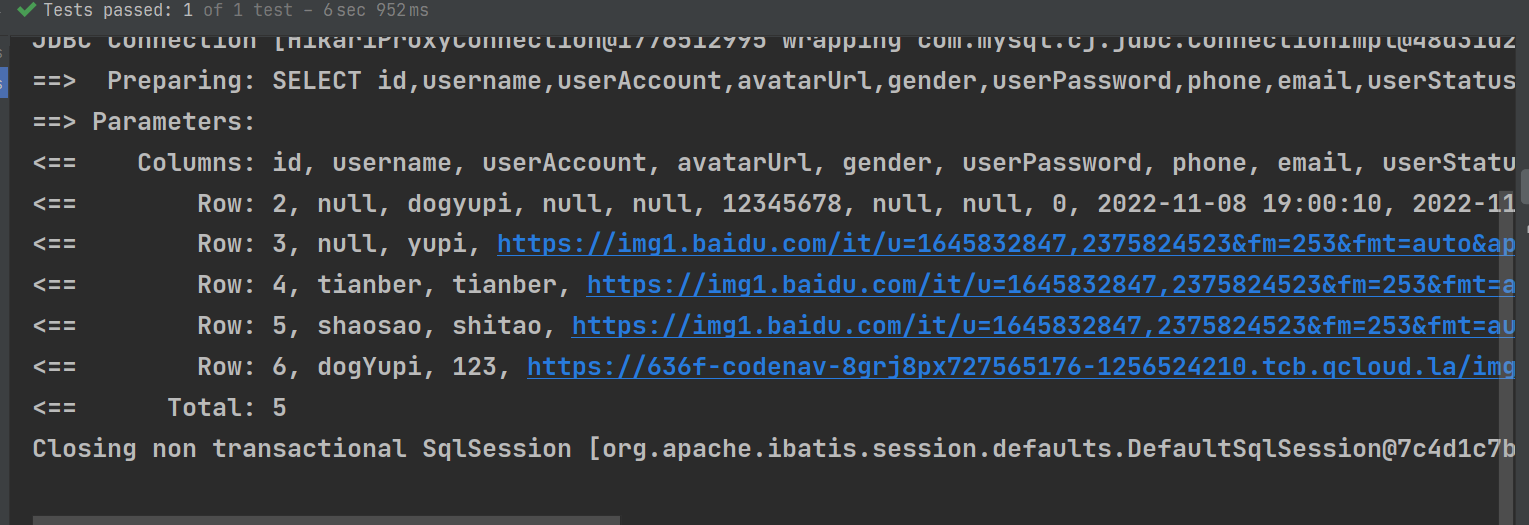
二、前端整合路由
vue 路由组件库地址:
1.安装命令
yarn add vue-router@4我这边没有权限报错,如果有,就删掉node_modules和yarn-error.log。再次输入安装命令,成功安装 package里的依赖要存在vue-router 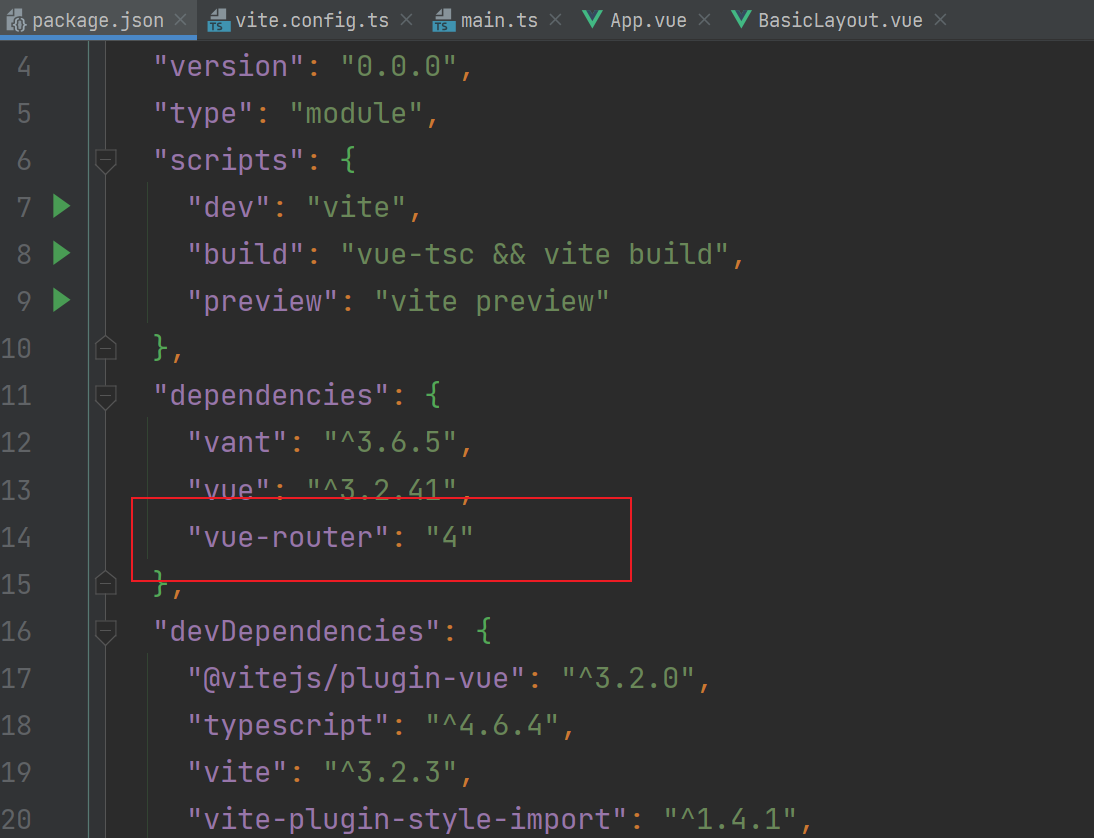
2.路由引入
看文档,按着步骤引用
// 1. 定义路由组件.
// 也可以从其他文件导入
const Home = { template: '<div>Home</div>' }
const About = { template: '<div>About</div>' }

// 2. 定义一些路由
// 每个路由都需要映射到一个组件。
// 我们后面再讨论嵌套路由。
const routes = [
  { path: '/', component: Home },
  { path: '/about', component: About },
]

// 3. 创建路由实例并传递 `routes` 配置
// 你可以在这里输入更多的配置,但我们在这里
// 暂时保持简单
const router = VueRouter.createRouter({
  // 4. 内部提供了 history 模式的实现。为了简单起见,我们在这里使用 hash 模式。
  history: VueRouter.createWebHashHistory(),
  routes, // `routes: routes` 的缩写
})

// 5. 创建并挂载根实例
const app = Vue.createApp({})
//确保 _use_ 路由实例使
//整个应用支持路由。
app.use(router)

app.mount('#app')

// 现在,应用已经启动了!
复制到main.ts中并修改,整理如下
import { createApp } from 'vue'
import App from './App.vue'
import {Button, Icon, NavBar, Tabbar, TabbarItem} from 'vant';
import Index from "./pages/Index.vue";
import Team from "./pages/Team.vue";
import * as VueRouter from 'vue-router';
const app = createApp(App);
app.use(Button);
app.use(NavBar);
app.use(Icon);
app.use(Tabbar);
app.use(TabbarItem);
//定义一些路由
const routes = [
{ path: '/', component: Index },
{ path: '/about', component: Team },
]
const router = VueRouter.createRouter({
// 4. 内部提供了 history 模式的实现。为了简单起见,我们在这里使用 hash 模式。
history: VueRouter.createWebHashHistory(),
routes, // `routes: routes` 的缩写
})
app.use(router)
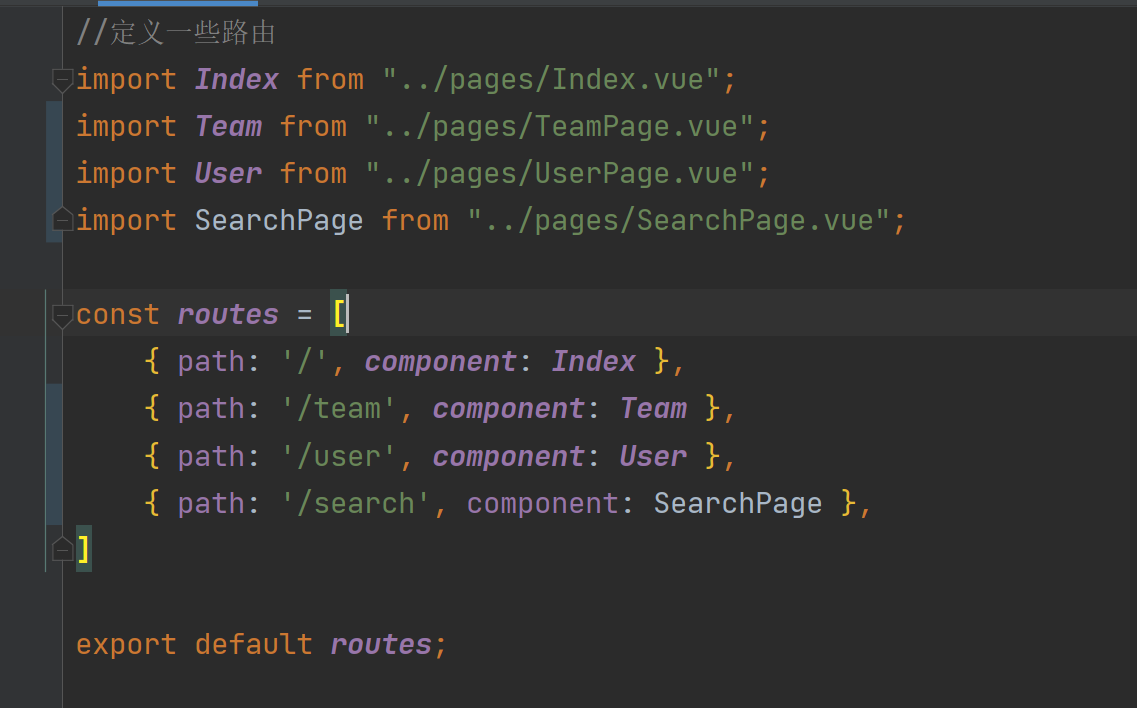
app.mount('#app');定义的路由,即跳转的规则是全局性的,尽量提取出来,不要全部写在main.ts中 在src目录下,建立config目录和route文件,把路由的定义移动到里面,注意!不是复制! route文件代码如下
//定义一些路由
import Index from "../pages/Index.vue";
import Team from "../pages/Team.vue";
import User from "../pages/User.vue";

const routes = [
    { path: '/', component: Index },
    { path: '/Team', component: Team },
    { path: '/User', component: User },
]

export default routes;//导出
回到main.ts文件中,把routes引入。选中routes按alt+anter,或者手动导入 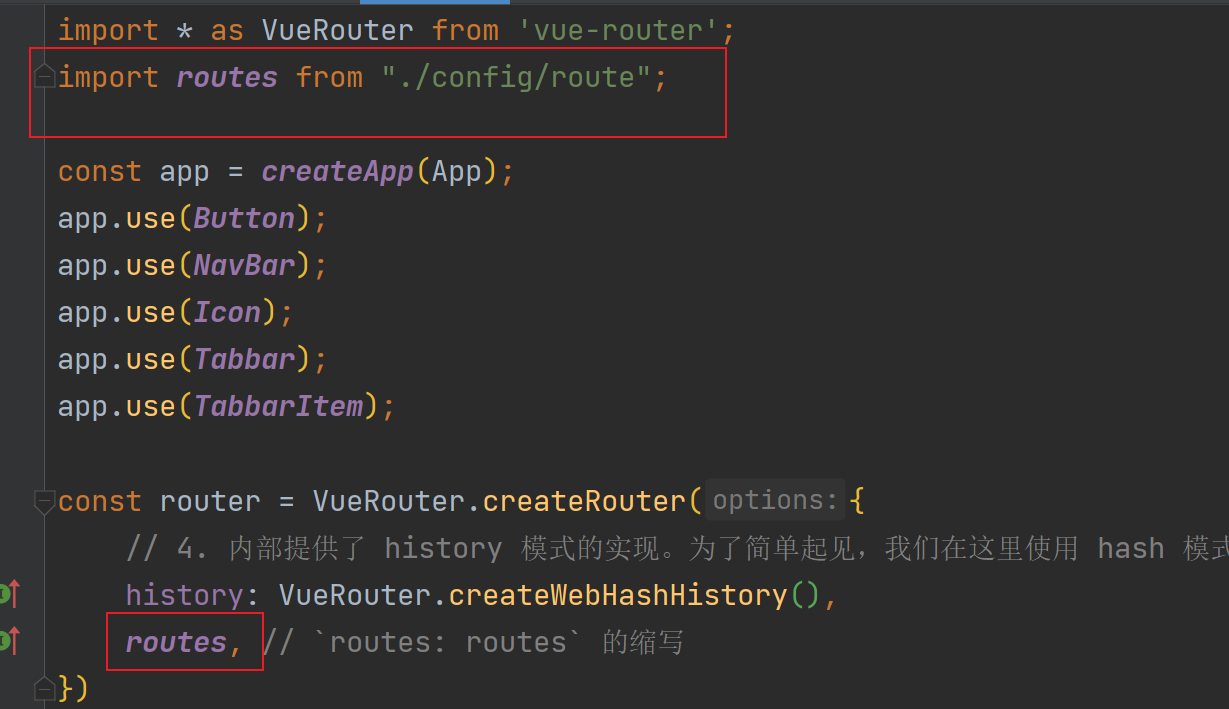 找到BasicLayout.vue文件,原先是利用v-if进行改变,跳转的,现在引入router-view,根据不同的页面展示不同的内容,个人理解:原先是单页面跳转,就是利用js重新渲染页面,而利用router-view后,是在多个页面里面进行跳转。 div 里的内容修改为如下
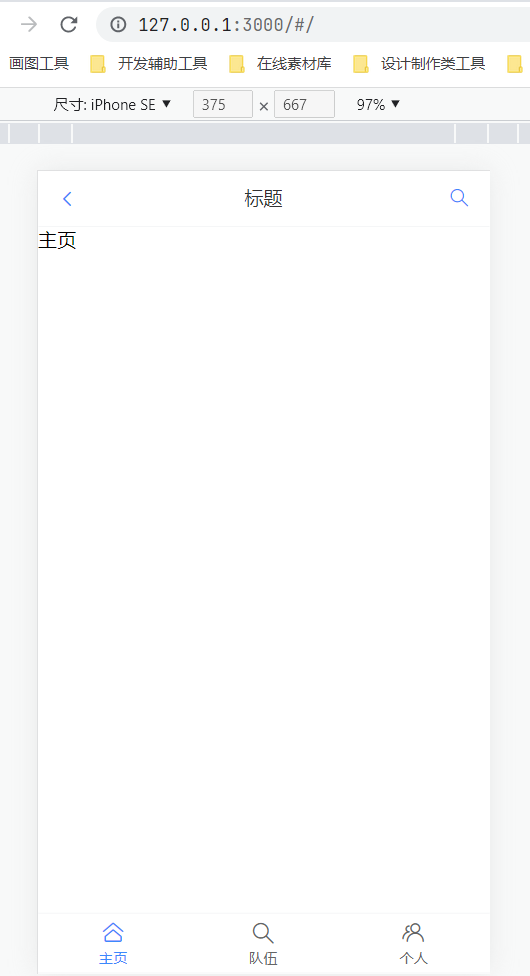
 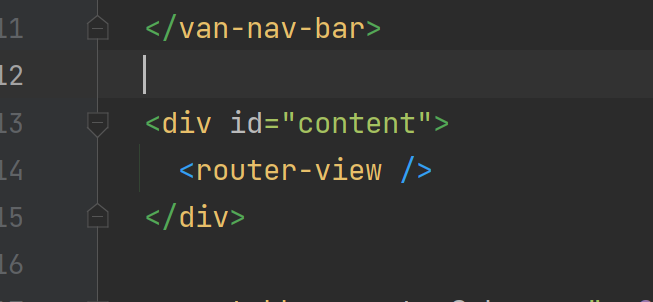 搭配route-link创建链接,进行测试
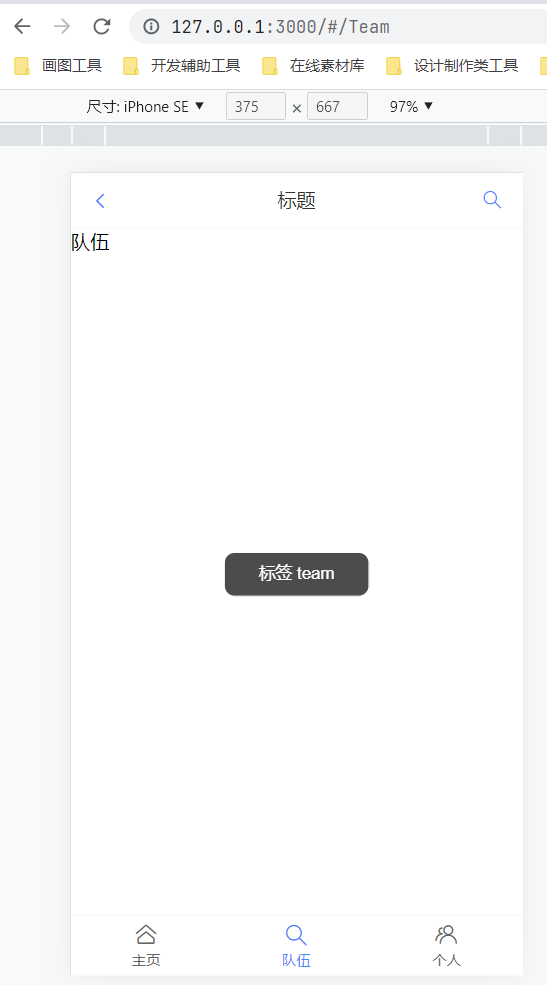
 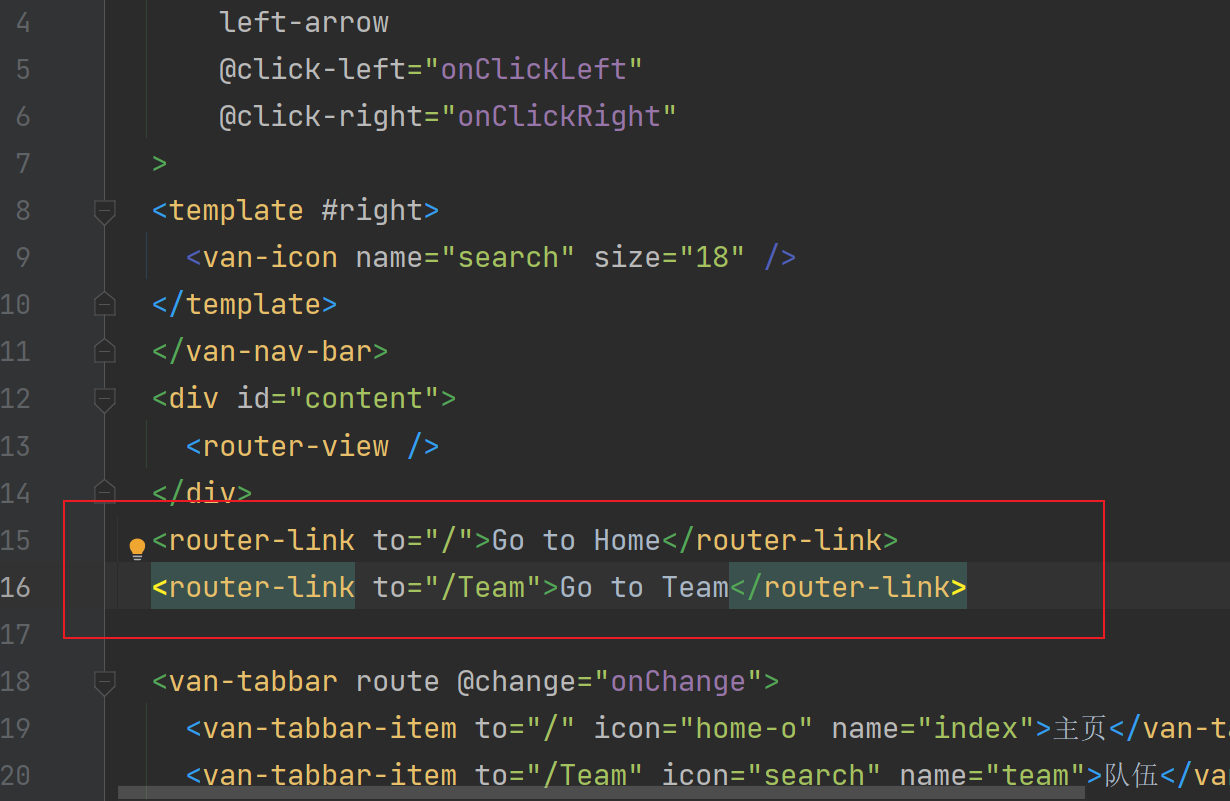 启动项目,测试一下,点击链接,发现路径是跳转的
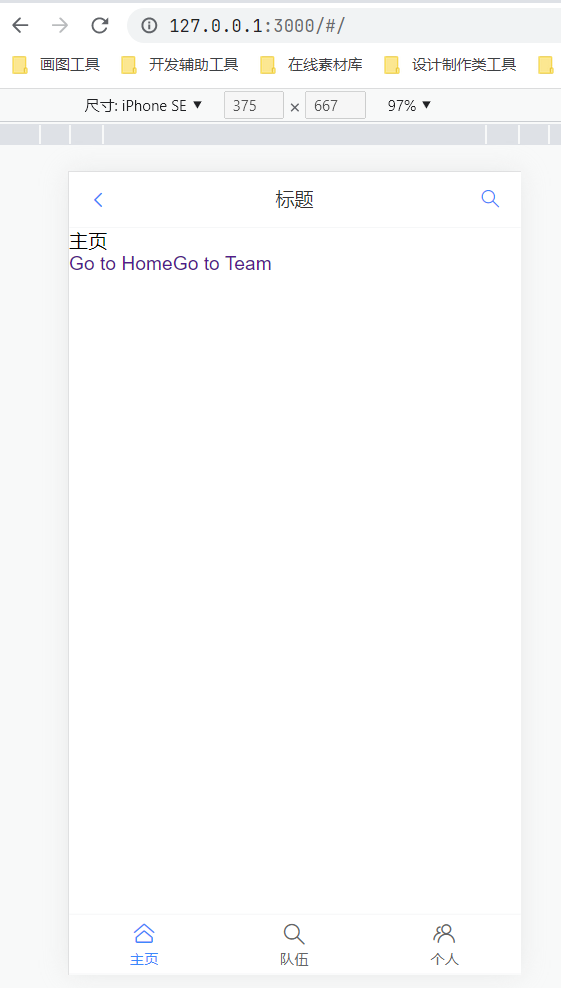
 这些表明框架结构已经成功搭建,vant3标签栏已经支持路由模式(正好是vue-route)
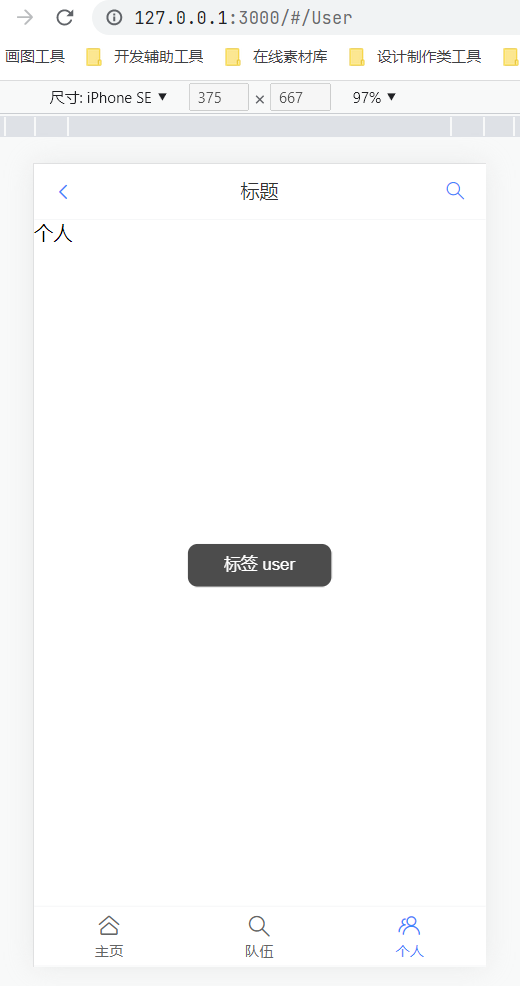
 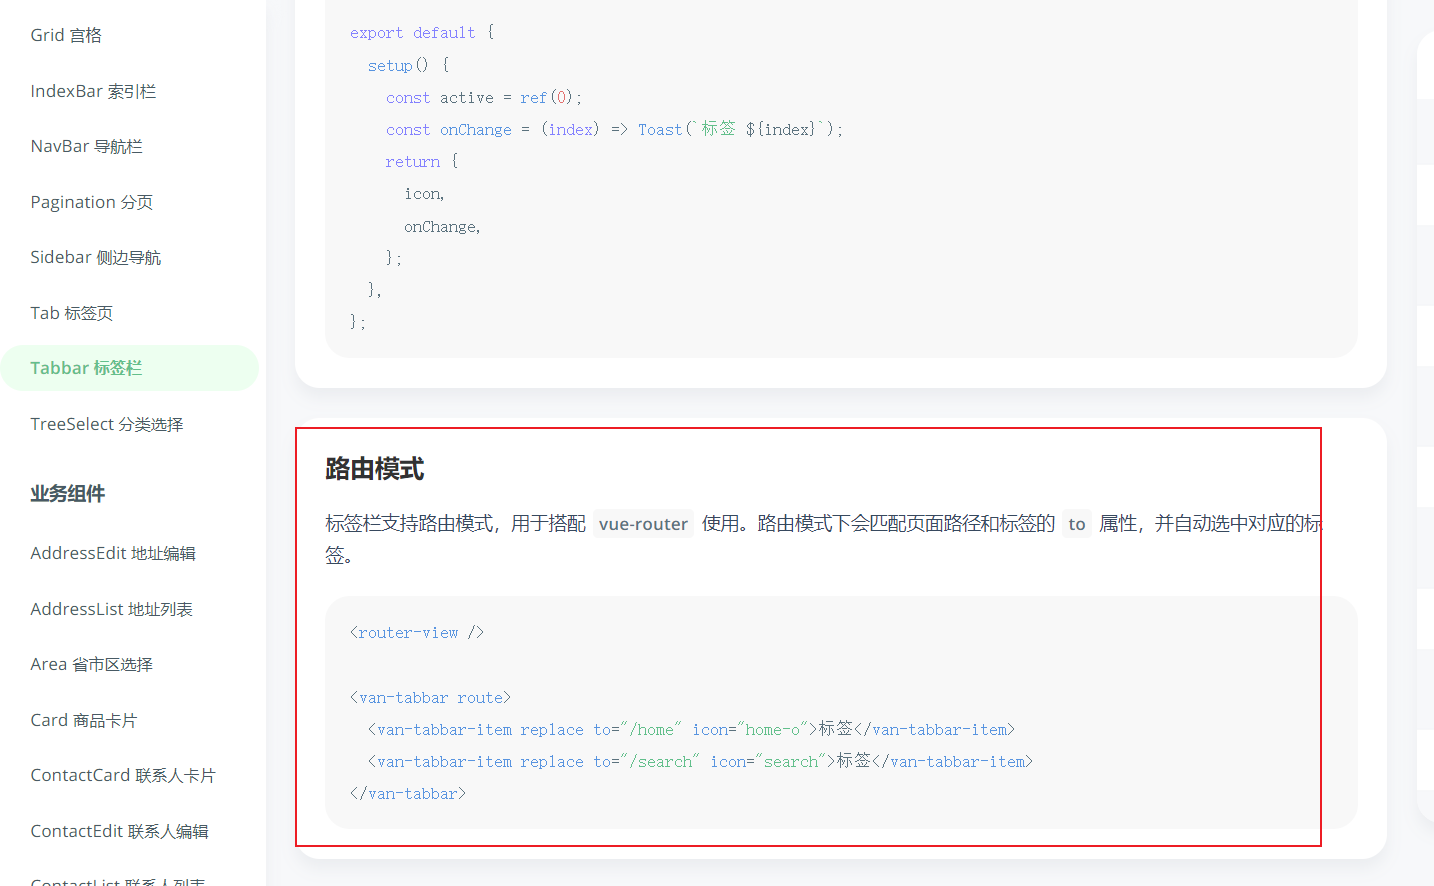 上次创建页面少创建了个人页面,现在依葫芦画瓢,创建个人页面(这个比较简单就不演示了),注意:别忘了到route.ts中引入这个页面
 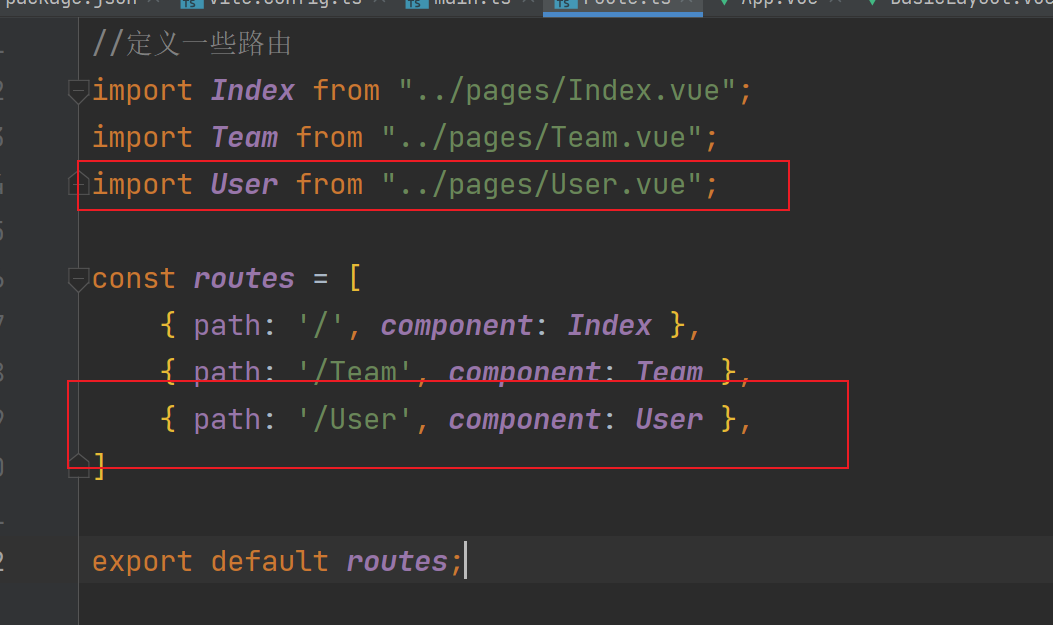 继续修改BasicLayout.vue如下
 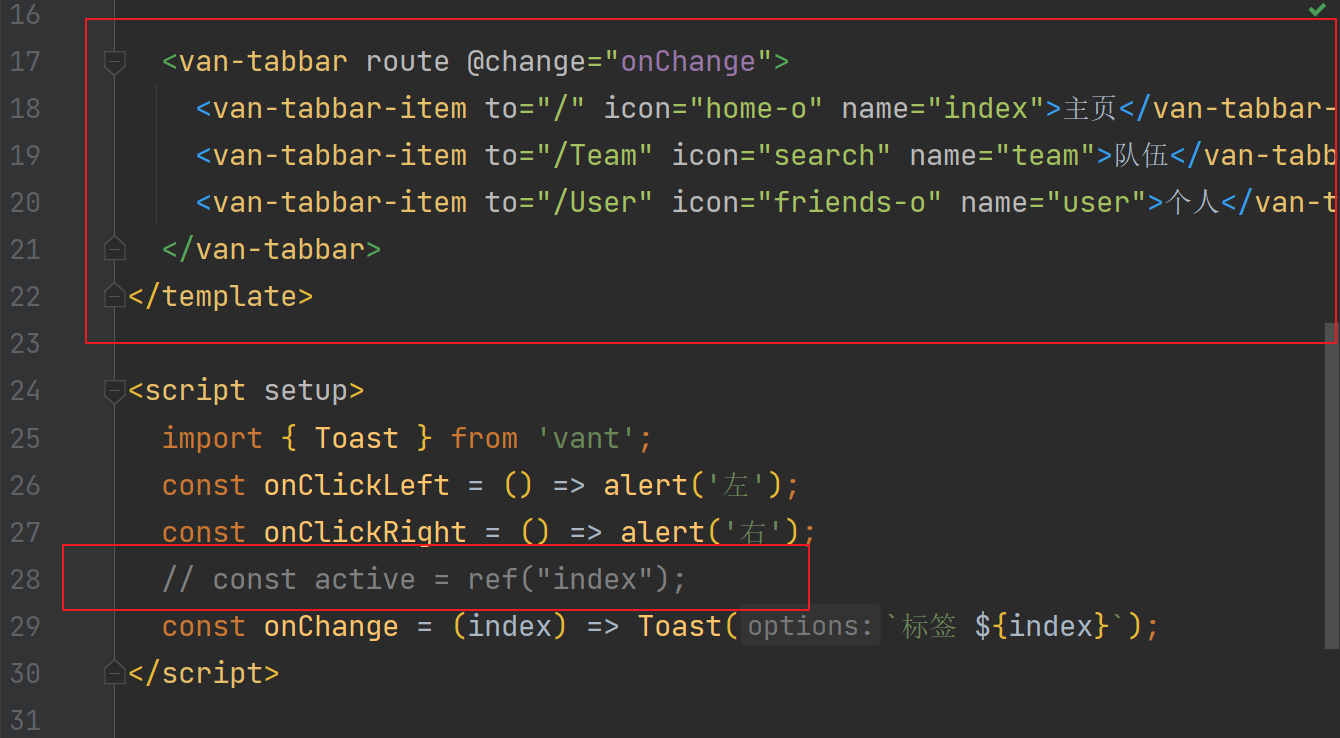 删除route-link(现在没用了,可通过标签栏跳转了) 测试一下,结果如下
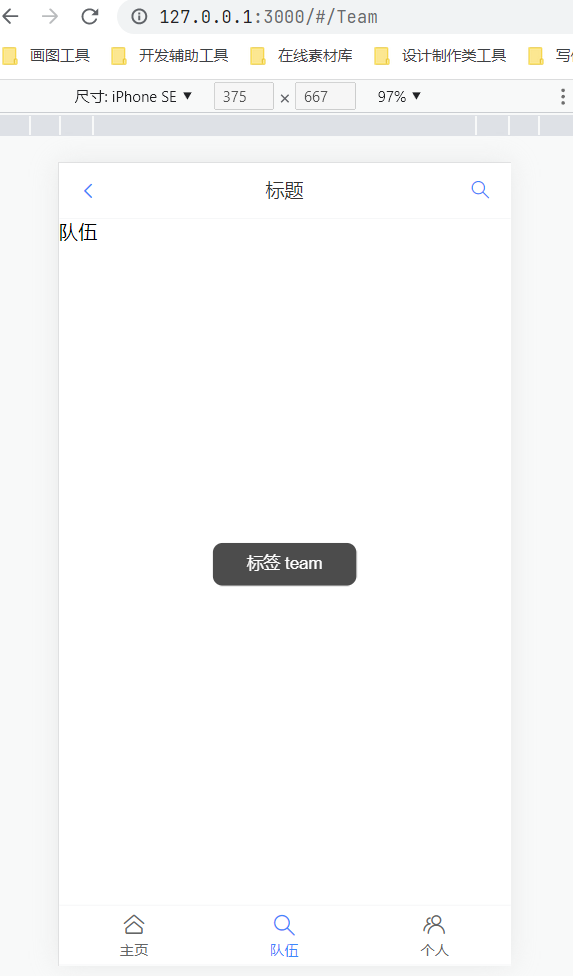
三、前端开发
1.准备工作
首先把原先的页面名称修改下,有些会与自带的起冲突,添加searchpage页面 ,并修改其他页面名称修改如下 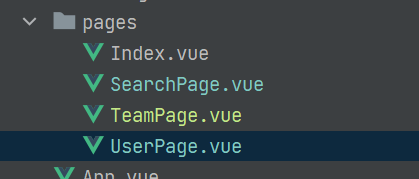
 为了编写代码中的便利,把按需引入改为全部引路,在main.ts中修改代码
import { createApp } from 'vue'
import App from './App.vue'
import * as VueRouter from 'vue-router';
import routes from "./config/route";
import Vant from 'vant';
import 'vant/lib/index.css'

const app = createApp(App);
app.use(Vant);

const router = VueRouter.createRouter({
    // 4. 内部提供了 history 模式的实现。为了简单起见,我们在这里使用 hash 模式。
    history: VueRouter.createWebHashHistory(),
    routes, // `routes: routes` 的缩写
})

app.use(router);
app.mount('#app');
2.添加搜索框
在vant文档里找到合适的组件如下 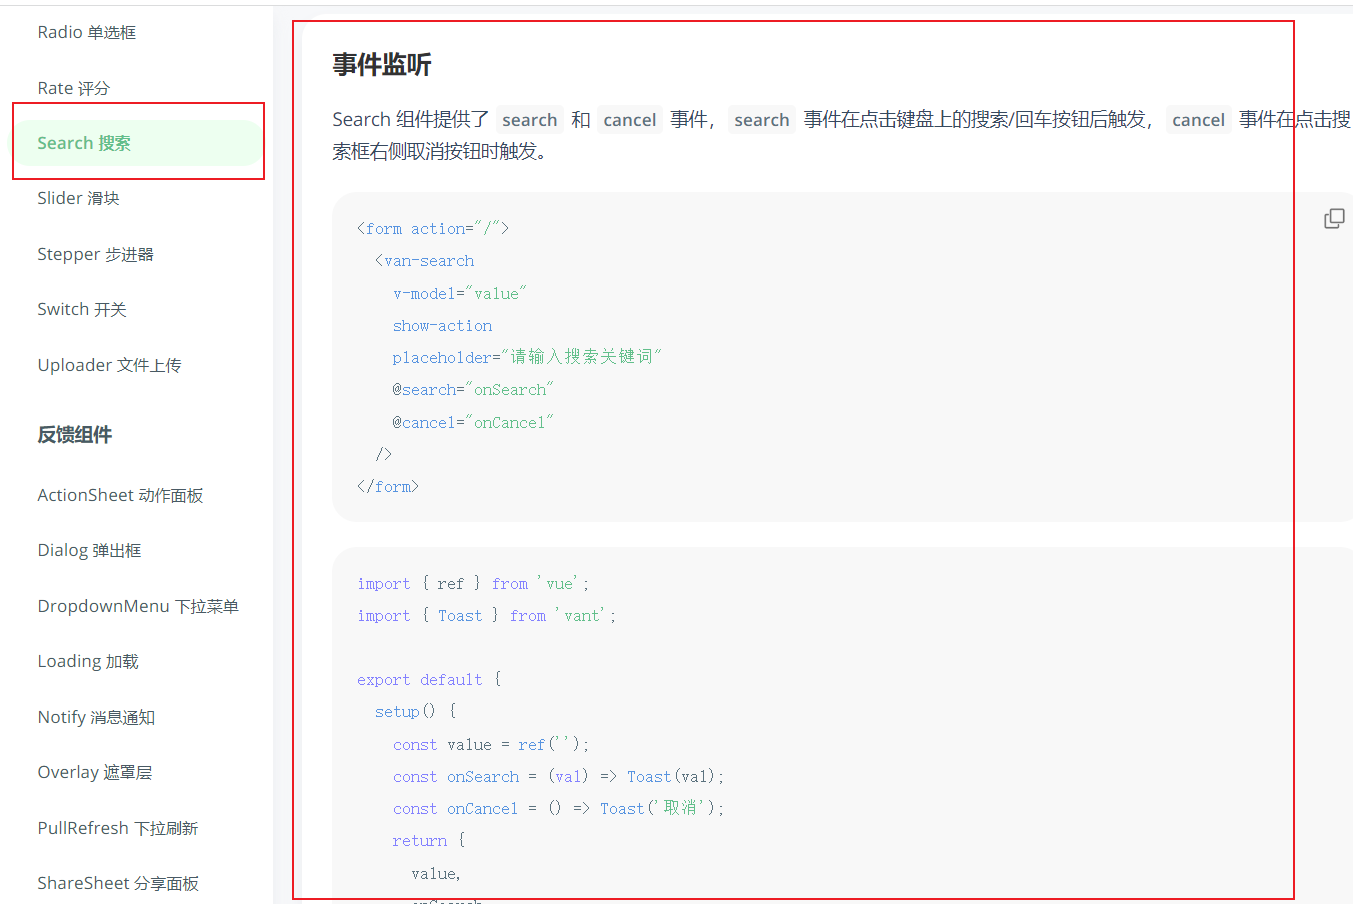 将其复制到searchpage页面里,并修改整理
<template>
<form action="/">
<van-search
v-model="searchText"
show-action
placeholder="请输入搜索关键词"
@search="onSearch"
@cancel="onCancel"
/>
</form>
</template>
<script setup>
import { ref } from 'vue';
import { Toast } from 'vant';
const searchText = ref('');
const onSearch = (val) => Toast(val);
const onCancel = () => Toast('取消');
</script>
<style scoped>
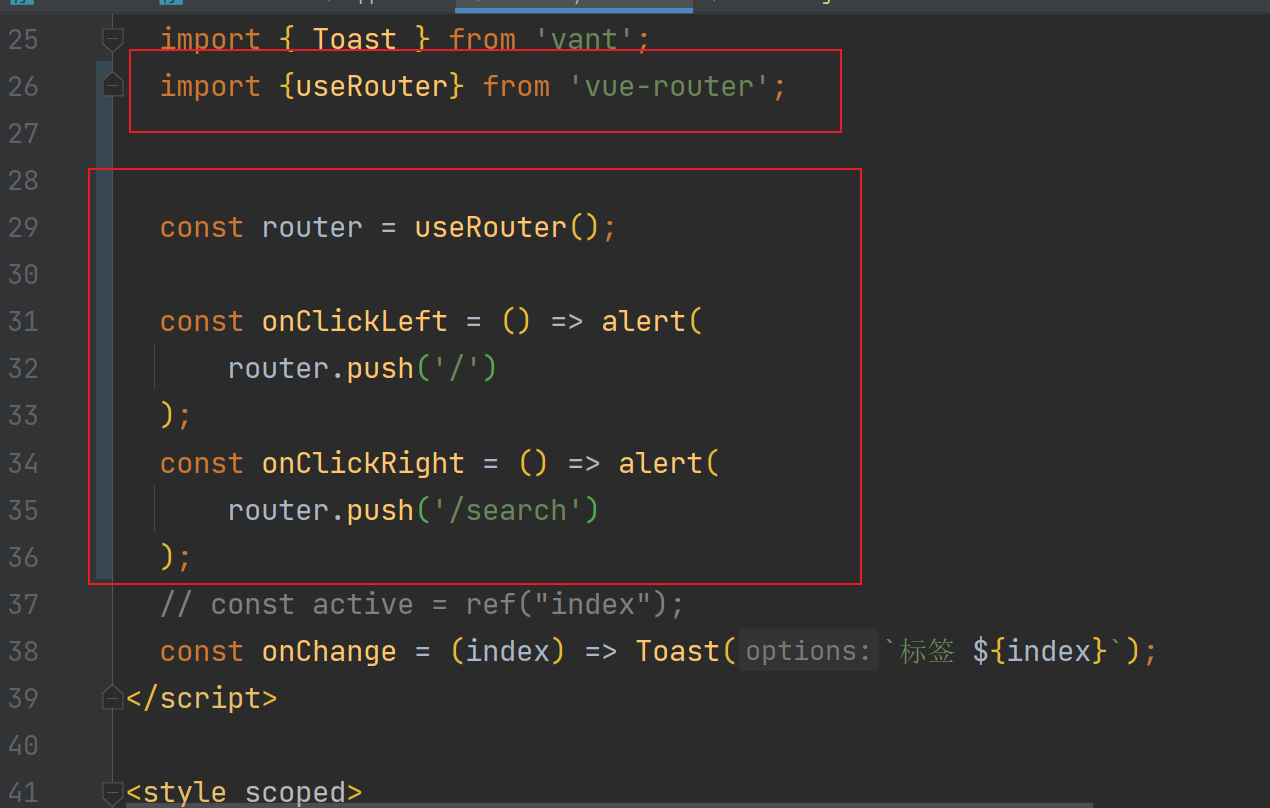
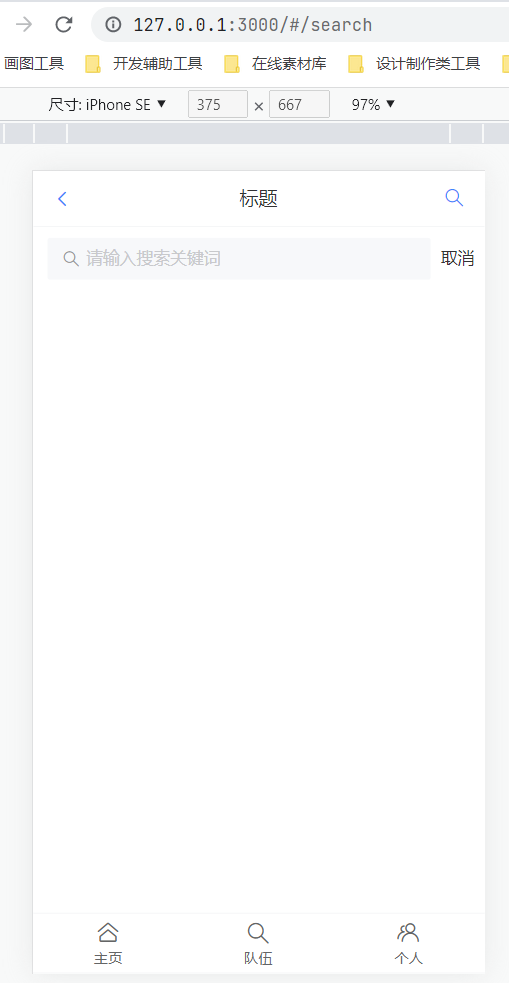
</style>然后做一个点击搜索按钮,跳转到搜索页面,在vue router 官方文档里有此内容,复制到BsaicLayout.vue中修改,顺便把左边的返回页面按钮也写了,使其跳转到主页 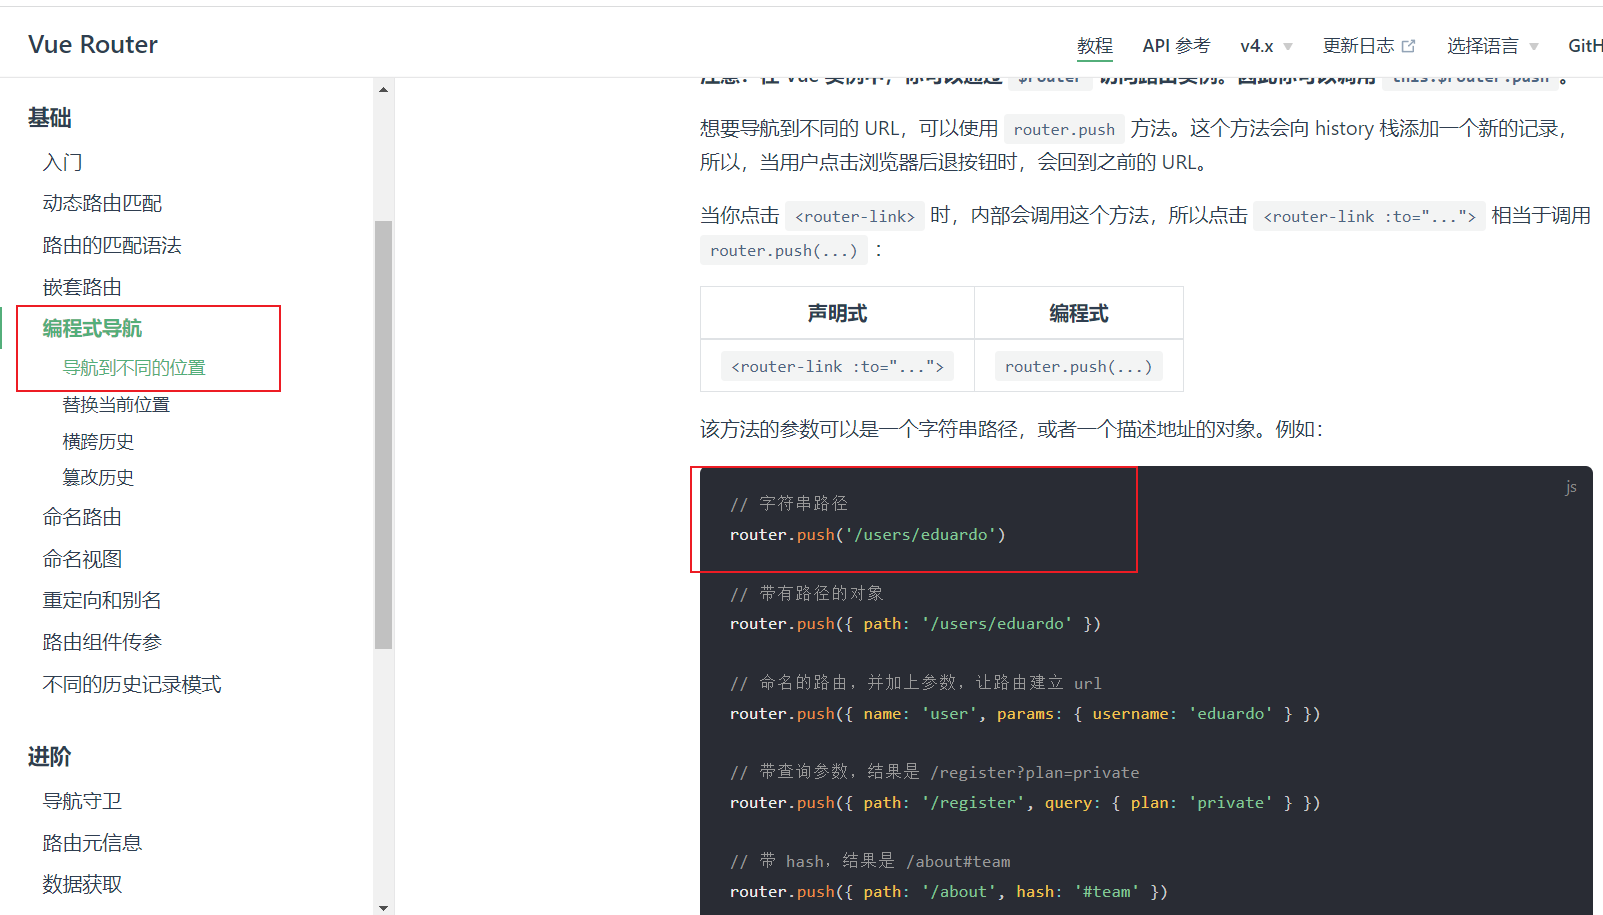
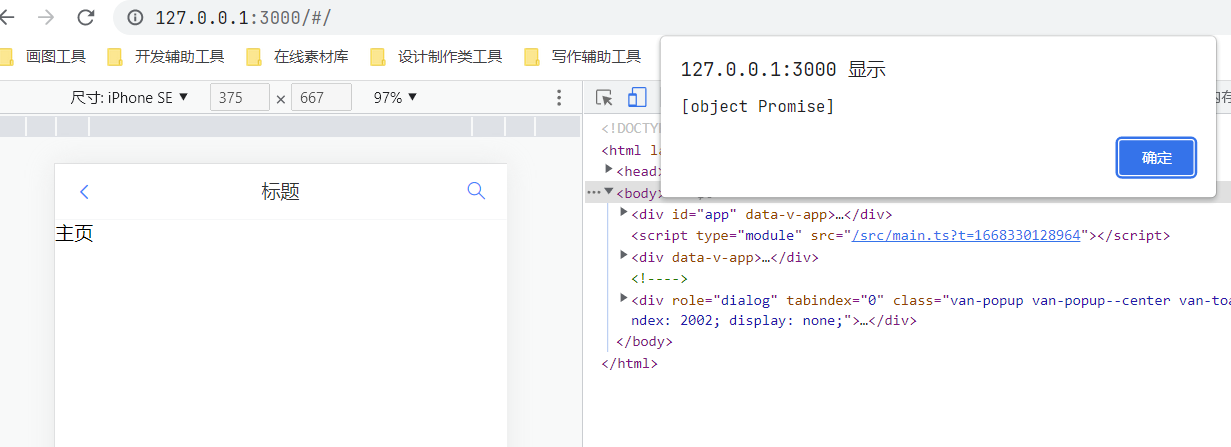
 测试一下,按搜索按钮
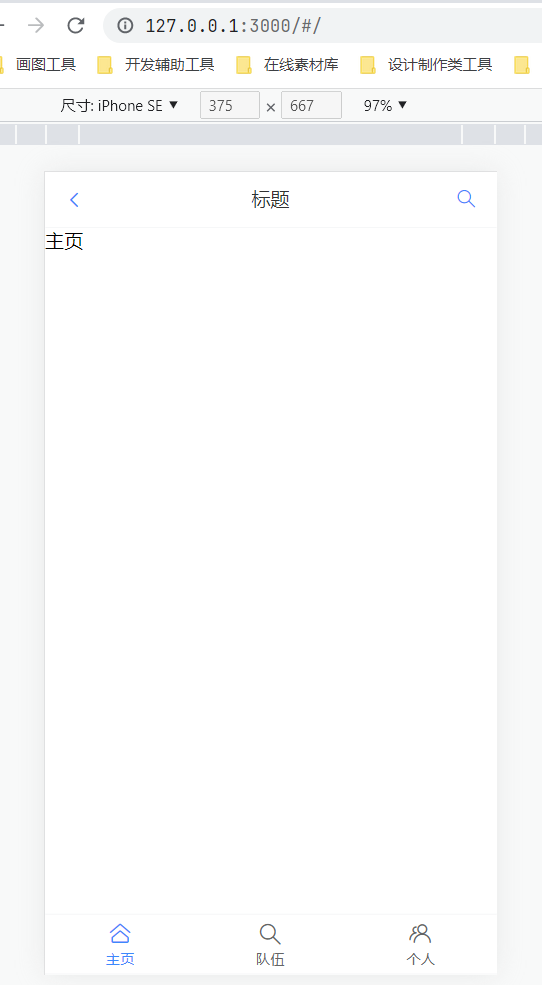
 按左边返回按钮
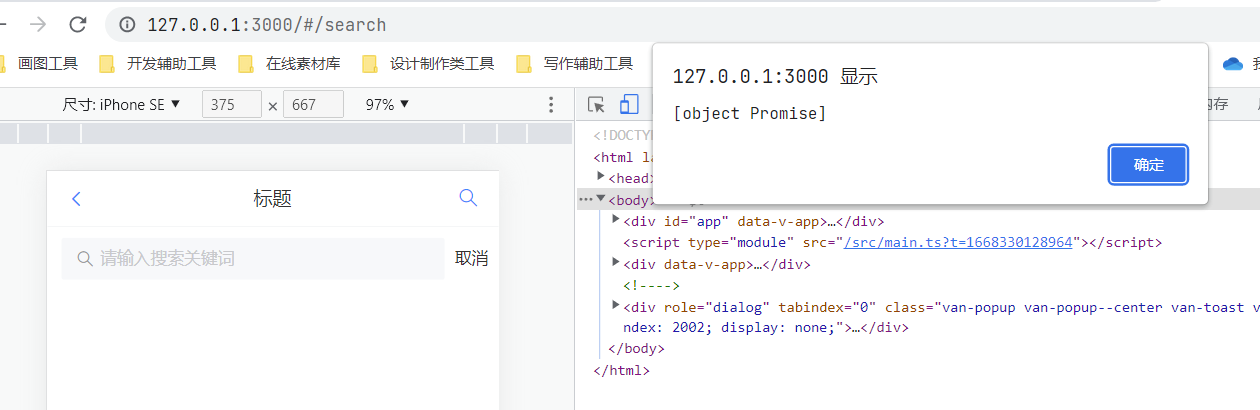
3.添加,搜索,删除标签
目标是实现标签显示,包括可选标签和已选标签,所以我们要引入分割线去区分
<van-divider
  :style="{ color: '#1989fa', borderColor: '#1989fa', padding: '0 16px' }"
>
  文字
</van-divider>
同时我们需要在点击搜索后,让页面显示已选标签,所以要引入tag标签
<van-tag :show="show" closeable size="medium" type="primary" @close="close">
  标签
</van-tag>
标签需要我们手动选择,所以也要引入选择标签组件,这边我们使用TreeSelect
import { ref } from 'vue';

export default {
  setup() {
    const activeId = ref(1);
    const activeIndex = ref(0);
    const items = [
      {
        text: '浙江',
        children: [
          { text: '杭州', id: 1 },
          { text: '温州', id: 2 },
        ],
      },
      {
        text: '江苏',
        children: [
          { text: '南京', id: 5 },
          { text: '无锡', id: 6 },
        ],
      },
    ];

    return {
      items,
      activeId,
      activeIndex,
    };
  },
};
已选标签之间是挤在一起,为了美观,我们来选择Layout布局来设置间距
<van-row gutter="20">
  <van-col span="8">span: 8</van-col>
  <van-col span="8">span: 8</van-col>
  <van-col span="8">span: 8</van-col>
</van-row>
将上面的组件复制到SearchPage.vue并整理修改
<template>
  <form action="/">
    <van-search
        v-model="searchText"
        show-action
        placeholder="请输入搜索关键词"
        @search="onSearch"
        @cancel="onCancel"
    />
  </form>
  <van-divider content-position="left">已选标签</van-divider>
  <div v-if="activeIds.length===0">请选择标签</div>
  <van-row gutter="16" style="padding: 0 16px">
    <van-col v-for="tag in activeIds">
      <van-tag closeable size="small" type="primary">
        {{tag}}
      </van-tag>
    </van-col>
  </van-row>
  <van-tree-select
      v-model:active-id="activeIds"
      v-model:main-active-index="activeIndex"
      :items="tagList"
  />
</template>

<script setup>
import { ref } from 'vue';
import { Toast } from 'vant';

const searchText = ref('');
const onSearch = (val) => Toast(val);
const onCancel = () => Toast('取消');

//已选中的标签
const activeIds = ref([]);
const activeIndex = ref(0);
const tagList = [
  {
    text: '性别',
    children: [
      { text: '男', id: '男' },
      { text: '女', id: '女' },
    ],
  },
  {
    text: '年级',
    children: [
      { text: '大一', id: '大一' },
      { text: '大二', id: '大二' },
    ],
  },
];

</script>

<style scoped>

</style>
看看现在页面是什么样的 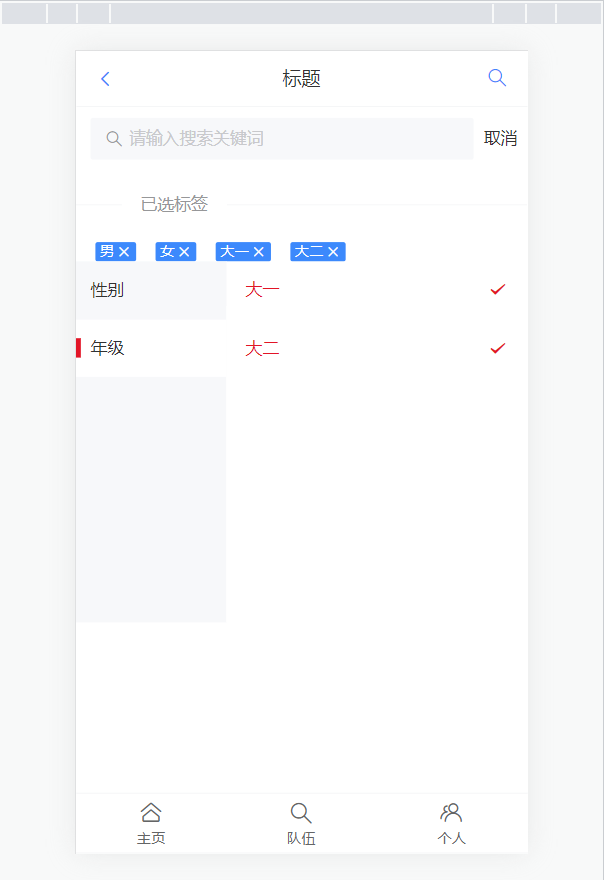 但是点击×删不掉已选标签,这是因为我们没写移除标签函数,添加函数!
//移除标签
const doClose = (tag) =>{
  activeIds.value=activeIds.value.filter(item =>{
    return item !== tag;
  })
}
别忘了在tag里面添加@close=”doClose(tag)”! 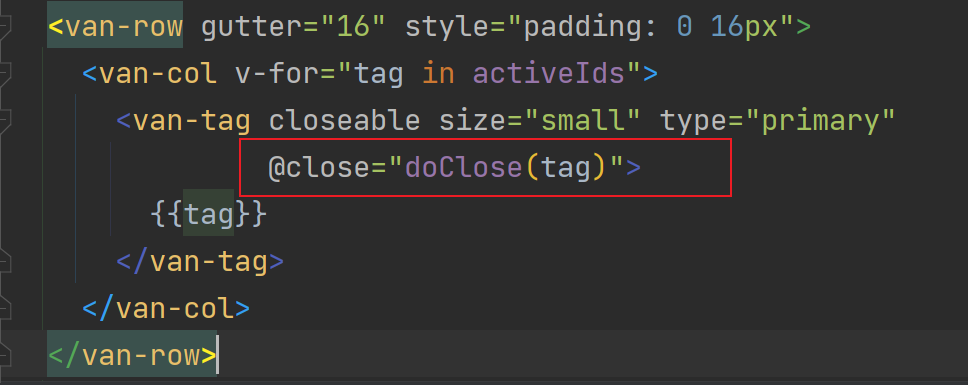 不出意外的话就可以删除已选标签了 最后就要进行关键字查询,来去过滤标签了(可以直接在前端里面过滤,因为标签的数据量不大,没必要向后台发送请求)
 现在要将数据扁平化,原来是嵌套结构,将数据扁平之后(打平)再进行过滤
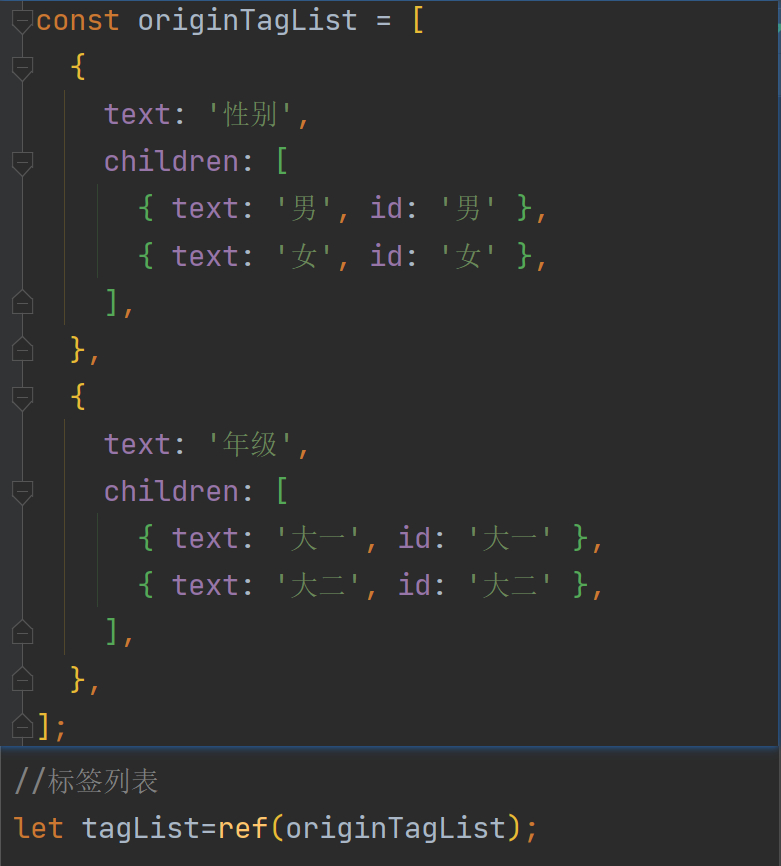
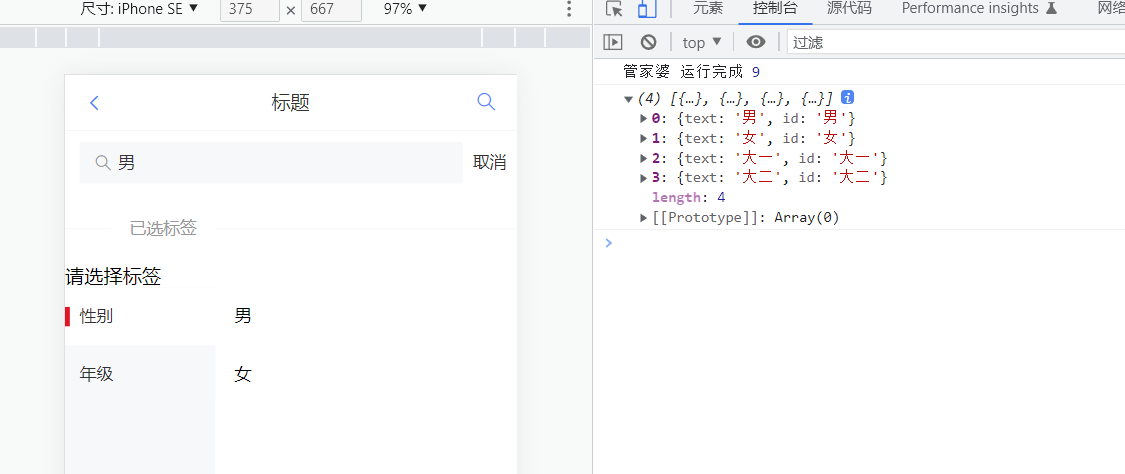
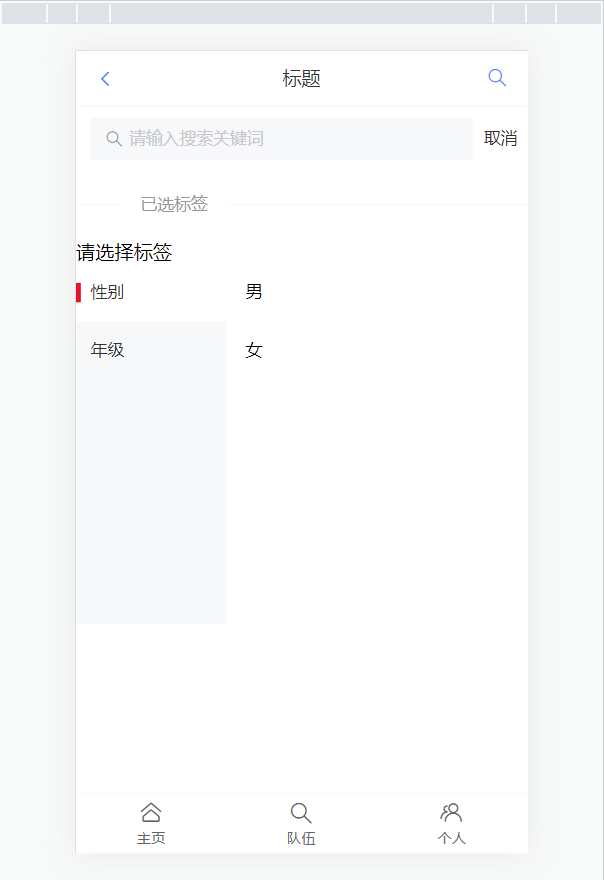
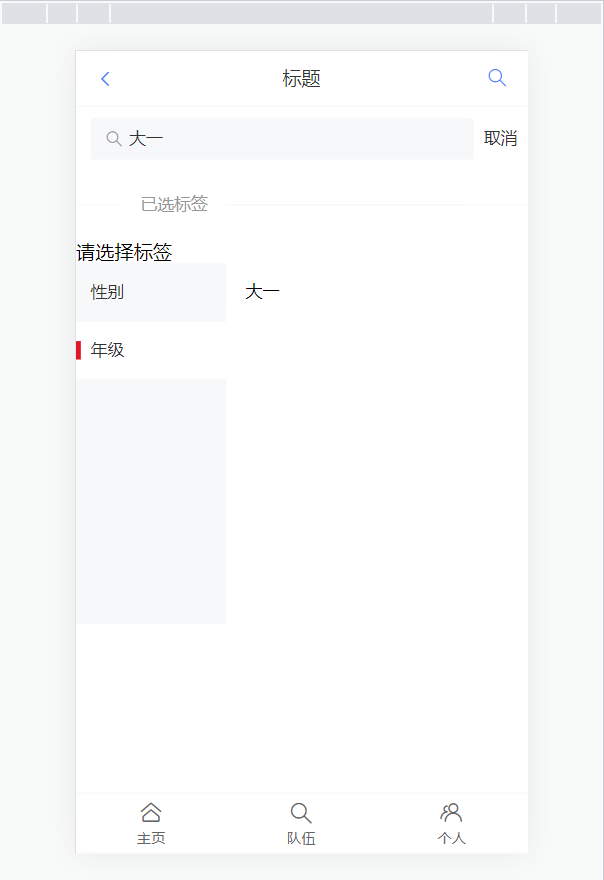
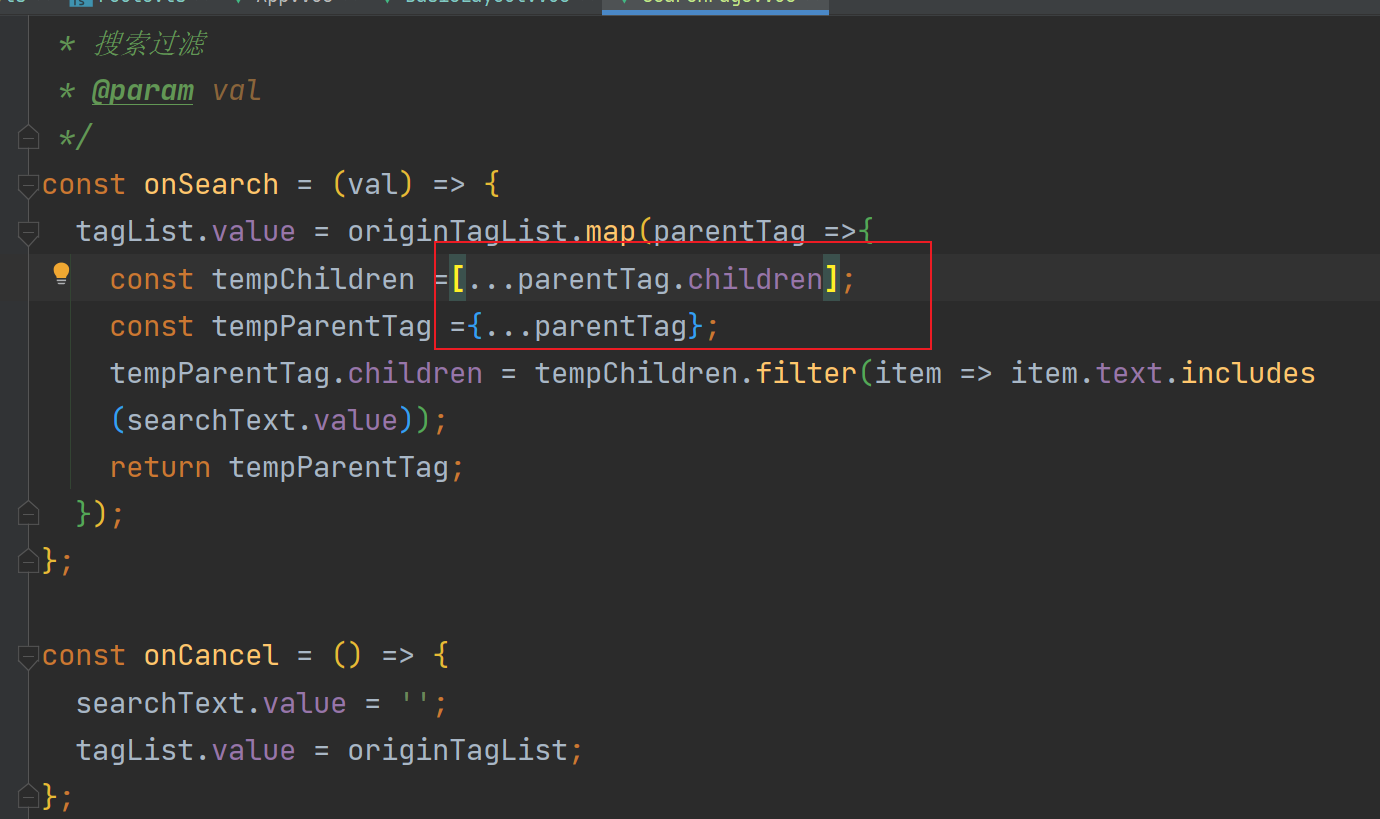 踩坑注意:画红线框处我这边是必须要这样写,@炎大佬的笔记里两个都是花括号,照着写我这边就会显示Uncaught TypeError: tempChildren.filter is not a function 测试:选中性别,搜索男,点击取消,选中年级,搜索大一 显示结果如下
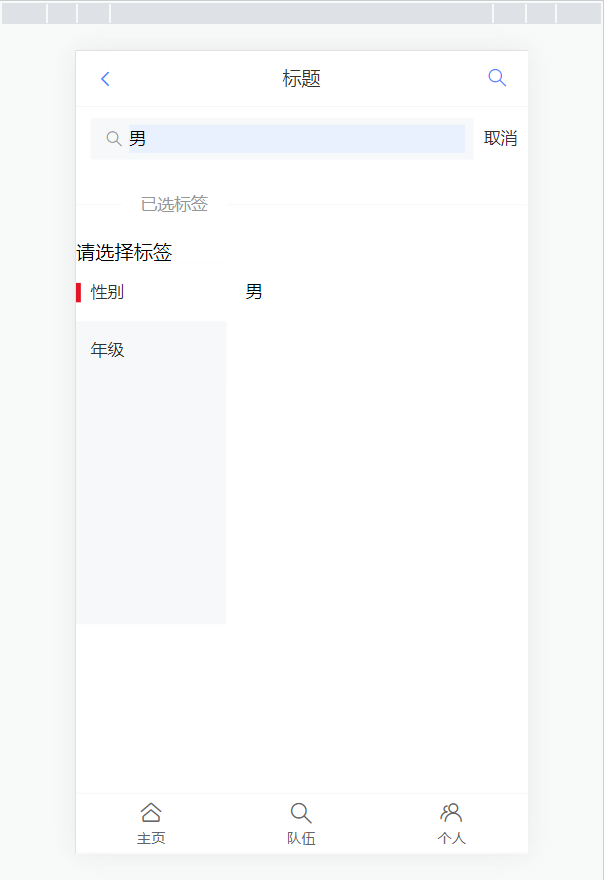
4.创建用户信息页
在vant文档里寻找到适合的组件来编写用户信息页面,这里选择了cell单元格,将其黏贴到UserPage.vue中 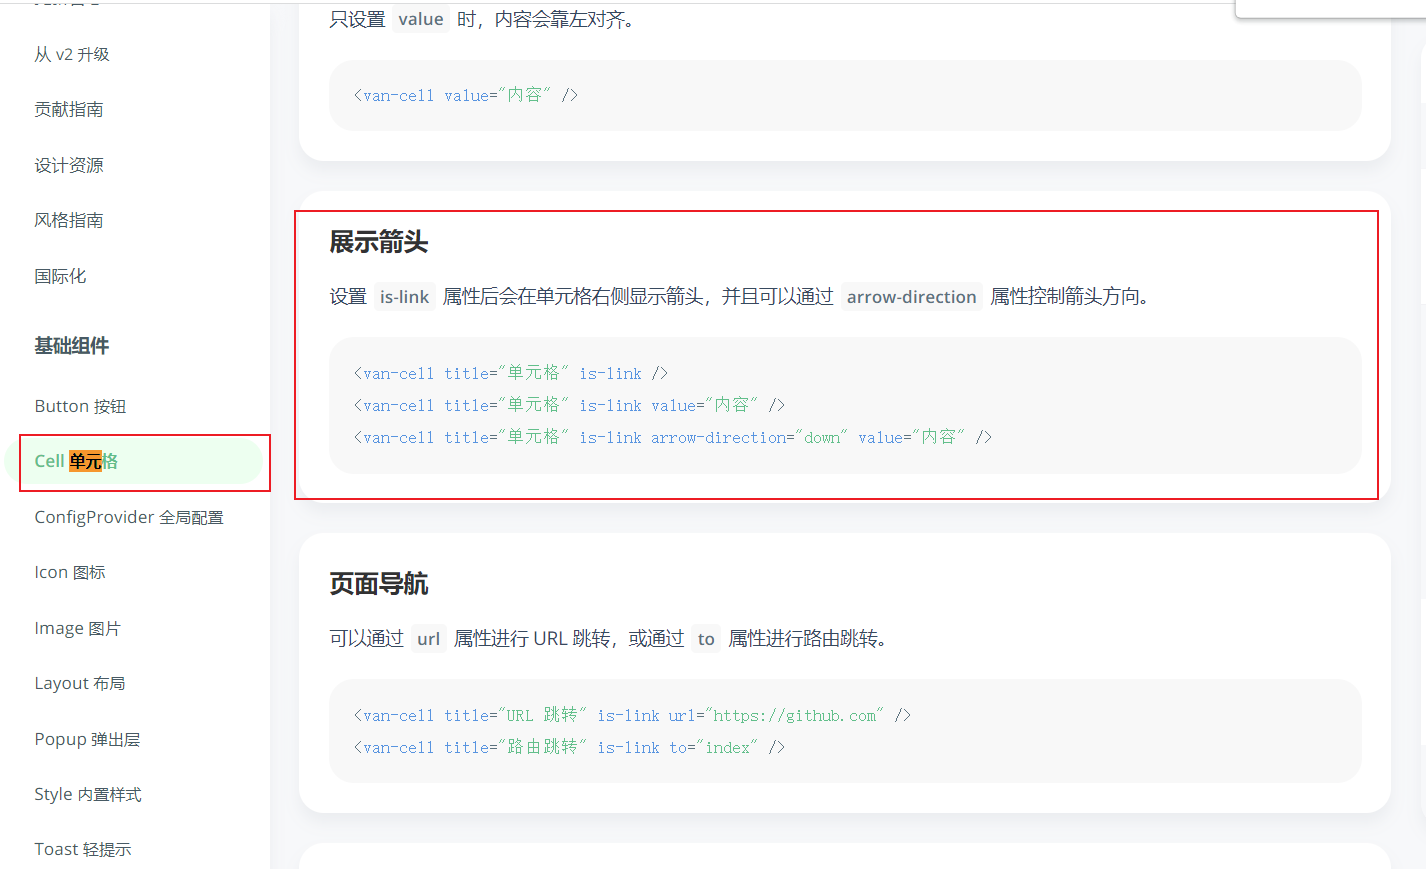 我们现在要定义一下后台用户数据的类别,在用户中心中我们曾经写过这个规范 在src目录下建立models目录,并创建user.d.ts文件,将规范粘贴进去并适当修改如下
/**
 * 用户类别
 */
export type CurrentUser = {
    id: number;
    username: string;
    userAccount: string;
    avatarUrl?: string;
    gender: number;
    phone: string;
    email: string;
    userStatus: number;
    userRole: number;
    planetCode: string;
    tags: string[];
    createTime: Date;
};
在UserPage.vue中引入,自己写点假数据
<template>
<van-cell title="昵称" is-link to='/user/edit' :value="user.username"/>
<van-cell title="账号" is-link to='/user/edit' :value="user.userAccount" />
<van-cell title="头像" is-link to='/user/edit'>
<img style="height: 48px" :src="user.avatarUrl"/>
</van-cell>
<van-cell title="性别" is-link to='/user/edit' :value="user.gender" />
<van-cell title="电话" is-link to='/user/edit' :value="user.phone" />
<van-cell title="邮箱" is-link to='/user/edit' :value="user.email" />
<van-cell title="星球编号" :value="user.planetCode" />
<van-cell title="注册时间" :value="user.createTime.toISOString()" />
</template>
<script setup>
const user = {
id: 1,
username: '鱼皮',
userAccount: 'dogYupi',
avatarUrl: 'https://img1.baidu.com/it/u=1645832847,2375824523&fm=253&fmt=auto&app=138&f=JPEG?w=480&h=480',
gender: '男',
phone: '121311313',
email: '23432@qq.com',
planetCode: '123',
createTime: new Date(),
};
</script>
<style scoped>
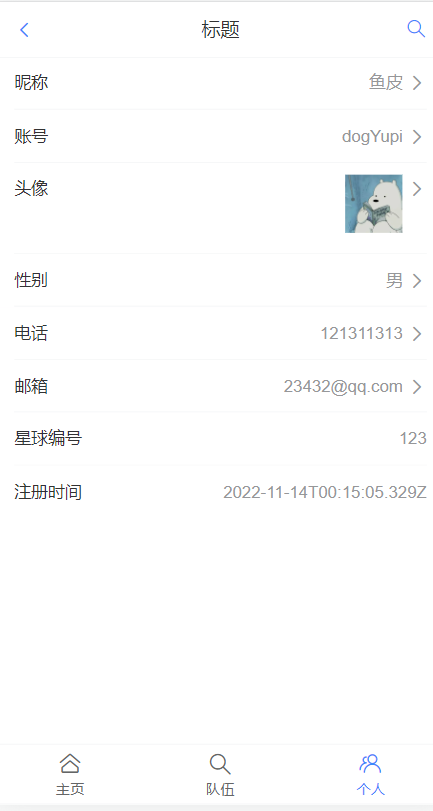
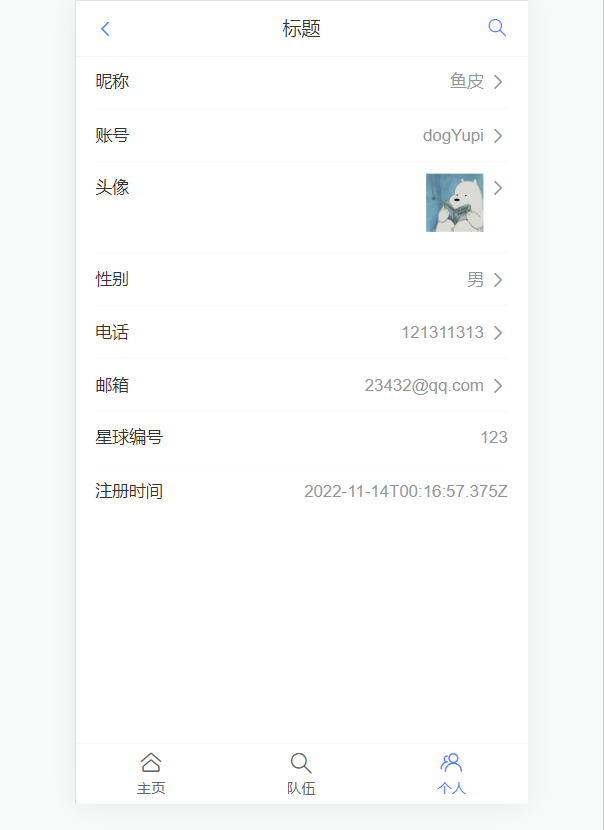
</style>显示如下 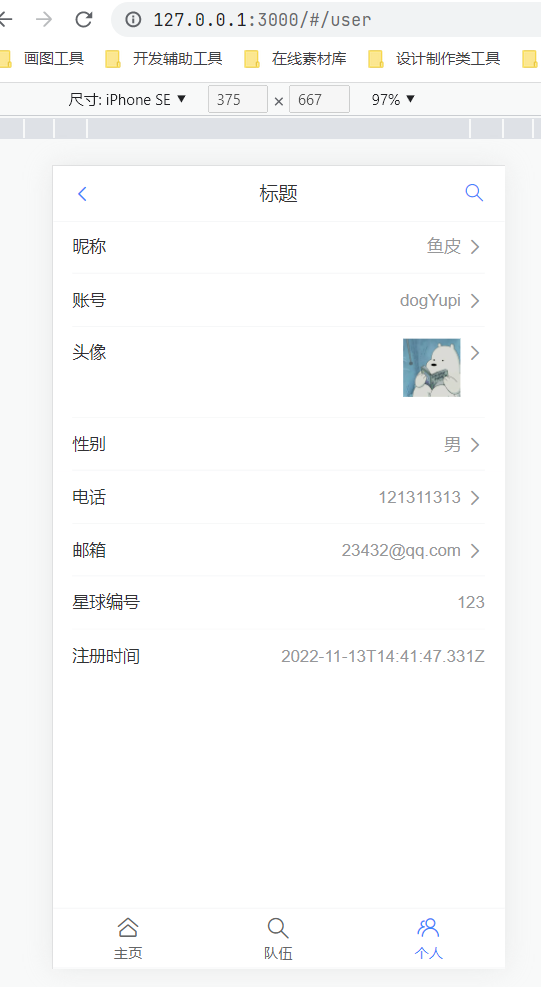
5.创建用户信息修改页
点击>可进入到修改页 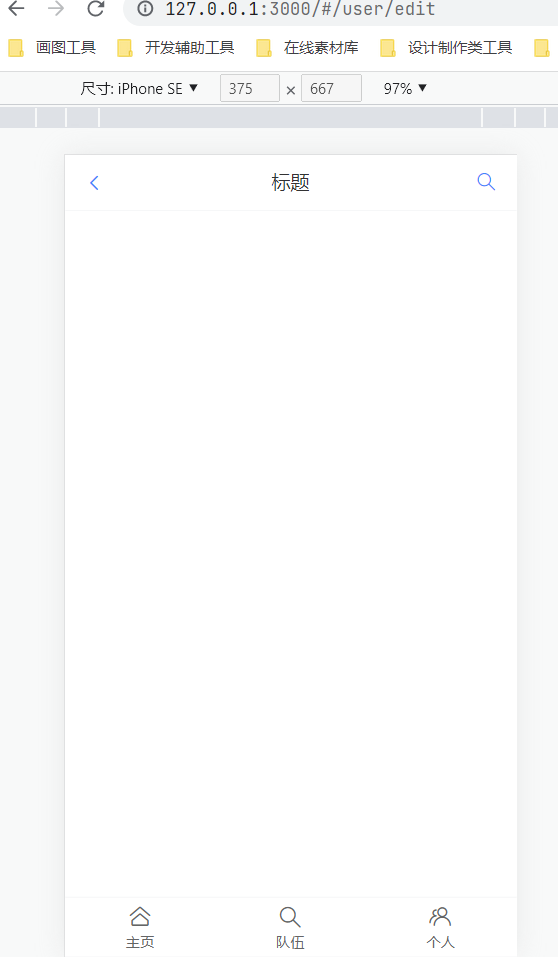 新建一个用户编辑页,命名为UserEditPage.vue 在route.ts添加新路由
 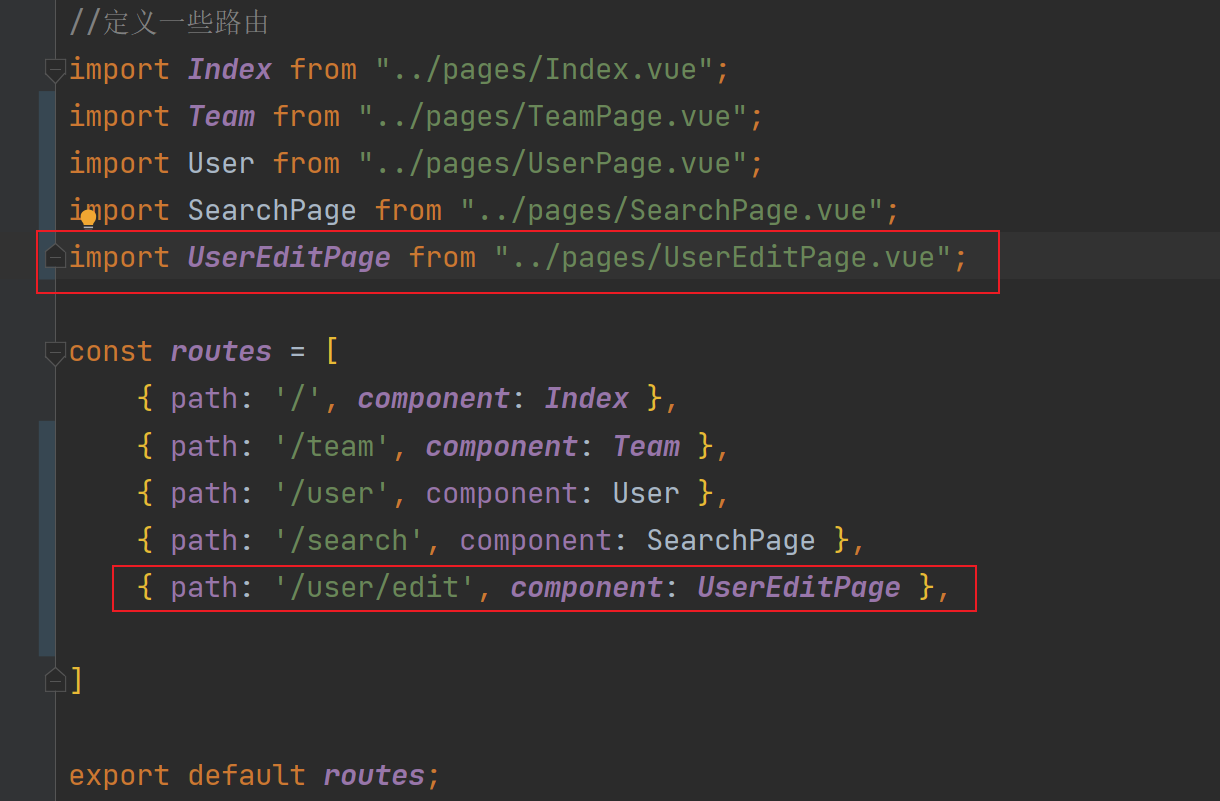 对UserPage.vue和UserEditPage.vue进行修改 UserPage.vue:
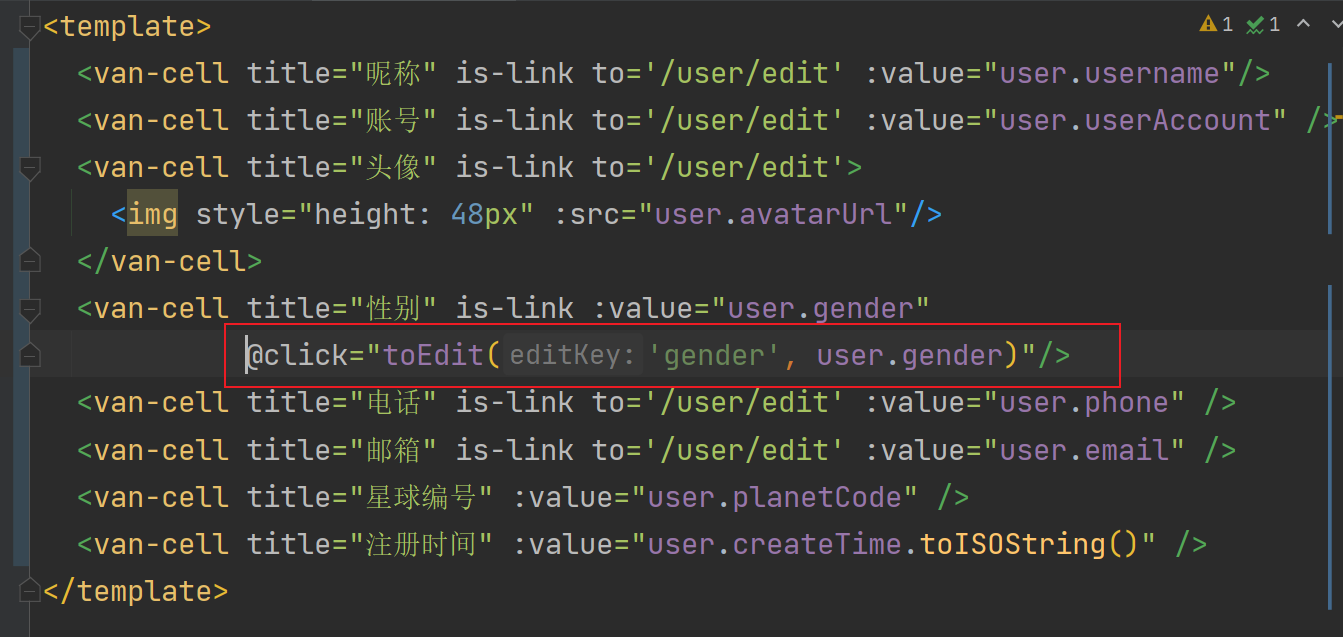
 UserEditPage.vue:
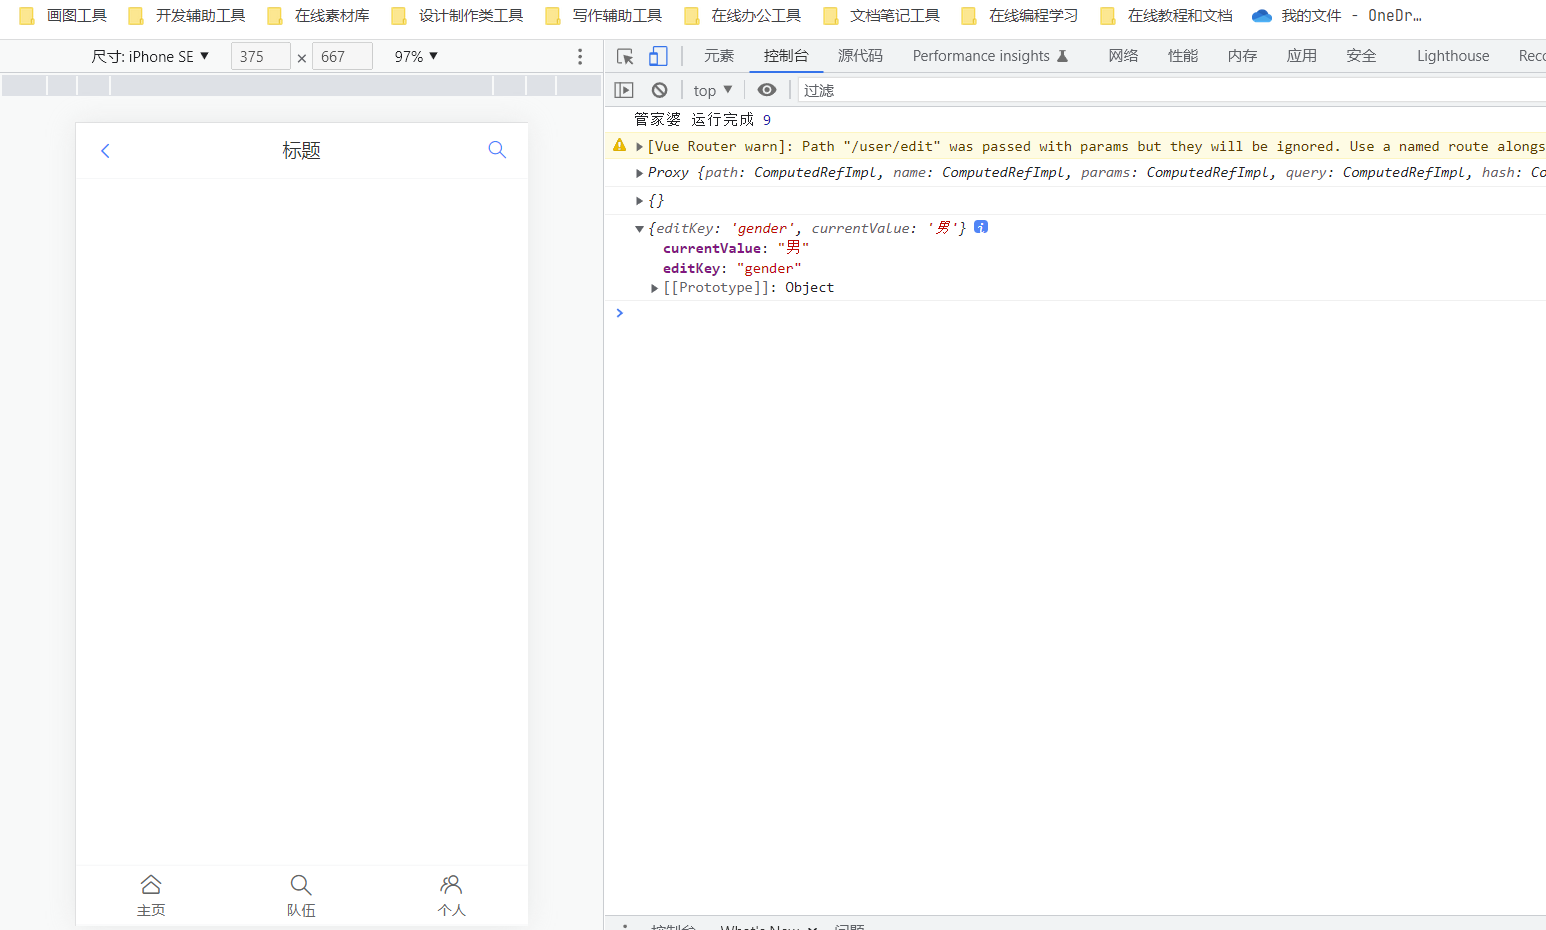
 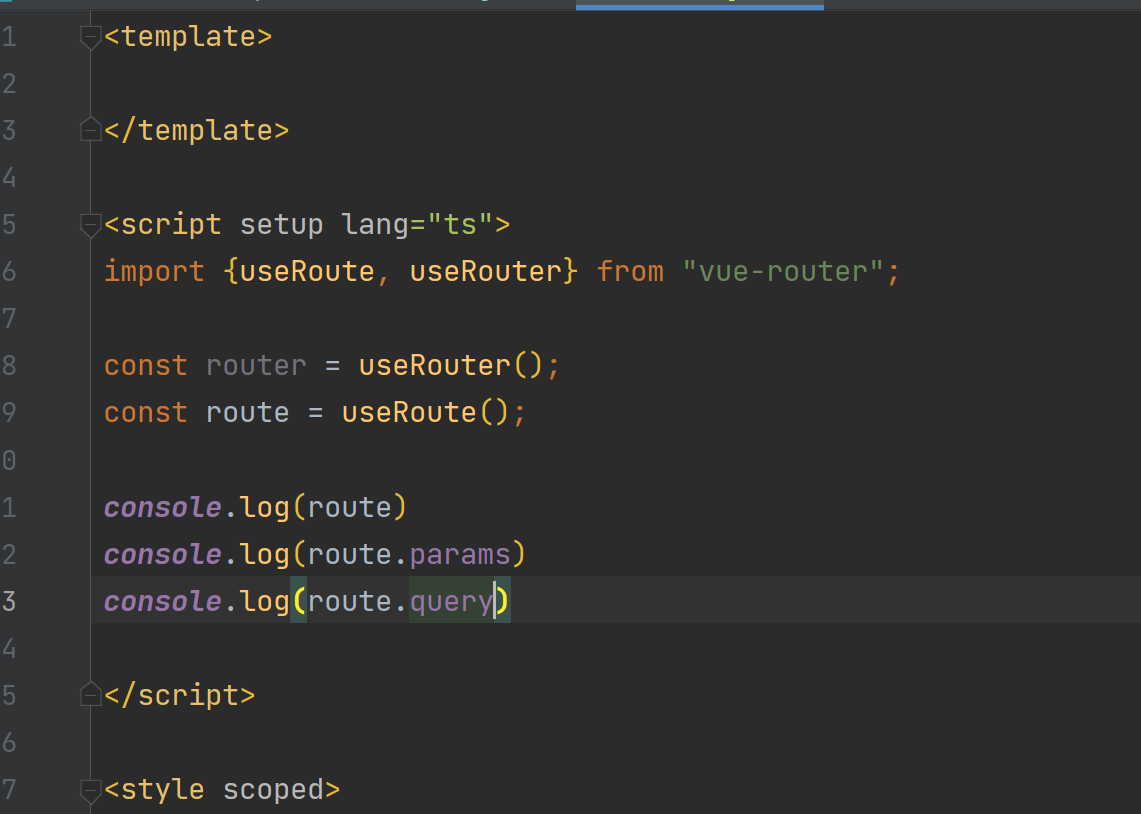 测试获取参数
 现在可以开始写编辑方法了,从组件库获取相应的表单
 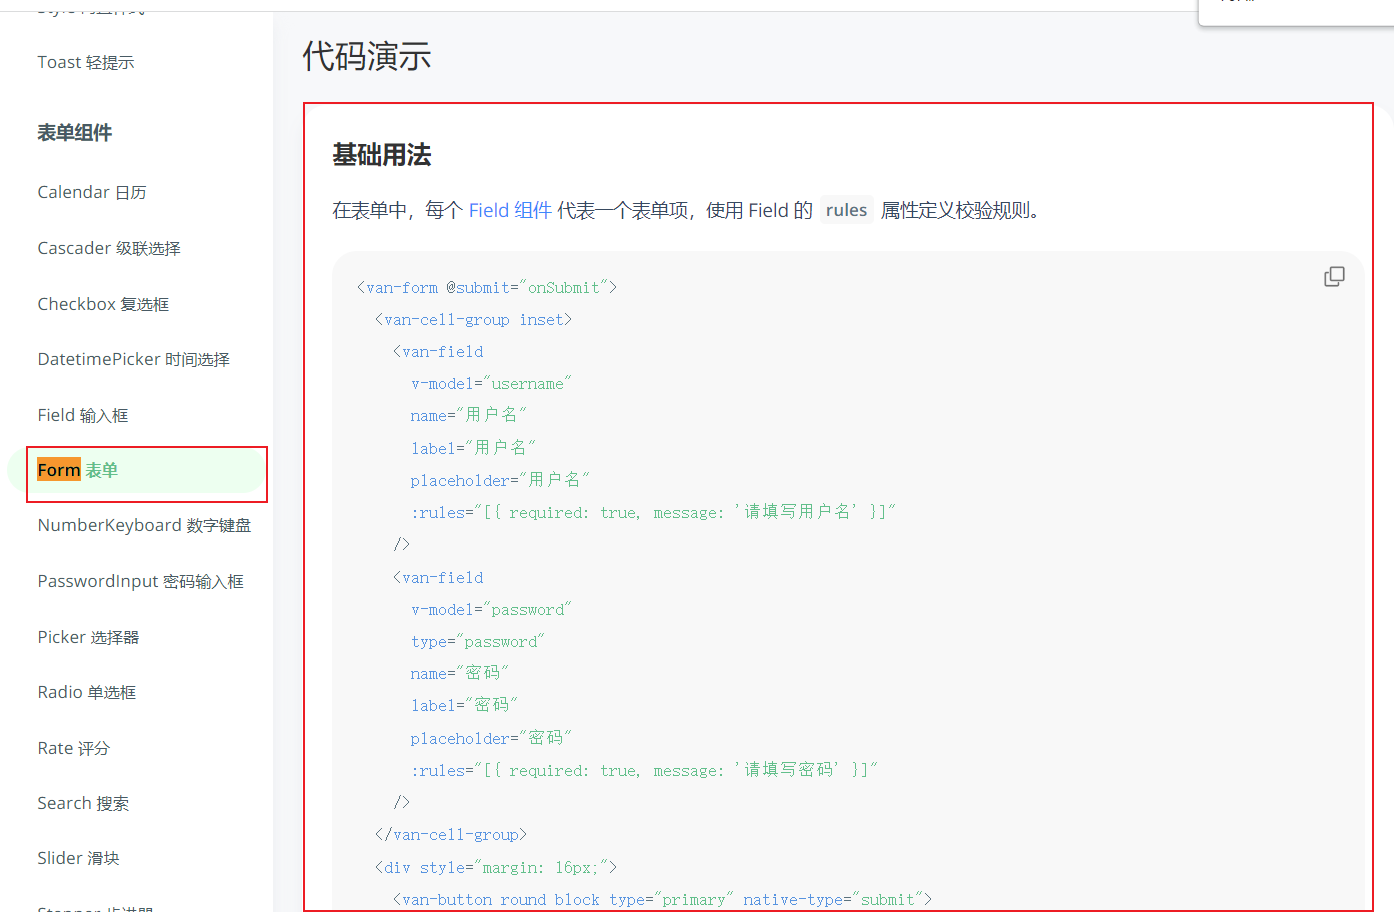 代码如下:
代码如下:
<van-form @submit="onSubmit">
  <van-cell-group inset>
    <van-field
      v-model="username"
      name="用户名"
      label="用户名"
      placeholder="用户名"
      :rules="[{ required: true, message: '请填写用户名' }]"
    />
    <van-field
      v-model="password"
      type="password"
      name="密码"
      label="密码"
      placeholder="密码"
      :rules="[{ required: true, message: '请填写密码' }]"
    />
  </van-cell-group>
  <div style="margin: 16px;">
    <van-button round block type="primary" native-type="submit">
      提交
    </van-button>
  </div>
</van-form>
复制粘贴到UserEditPage.vue修改整理如下
<template>
<van-form @submit="onSubmit">
<van-field
v-model="editUser.currentValue"
:name="editUser.editKey"
:label="editUser.editName"
:placeholder="'请输入${editUser.editName}'"
/>
<div style="margin: 16px;">
<van-button round block type="primary" native-type="submit">
提交
</van-button>
</div>
</van-form>
</template>
<script setup lang="ts">
import {useRoute} from "vue-router";
import {ref} from "vue";
const route = useRoute();
const editUser = ref({
editKey: route.query.editKey,
currentValue: route.query.currentValue,
editName: route.query.editName,
})
const onSubmit = (values) => {
//todo 把editKey currentValue editName提交到后台
console.log('onSubmit',values);
}
console.log(route)
console.log(route.query)
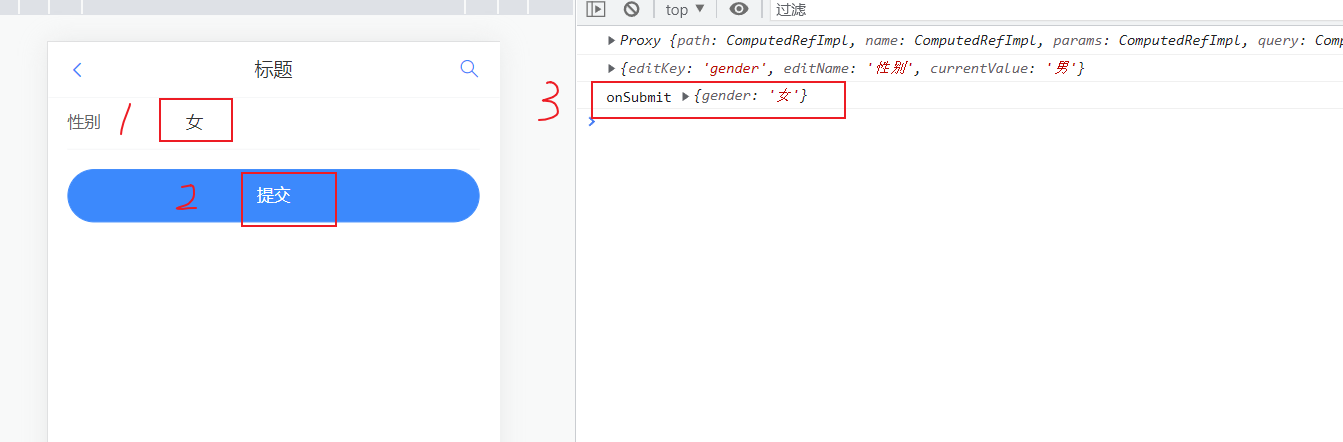
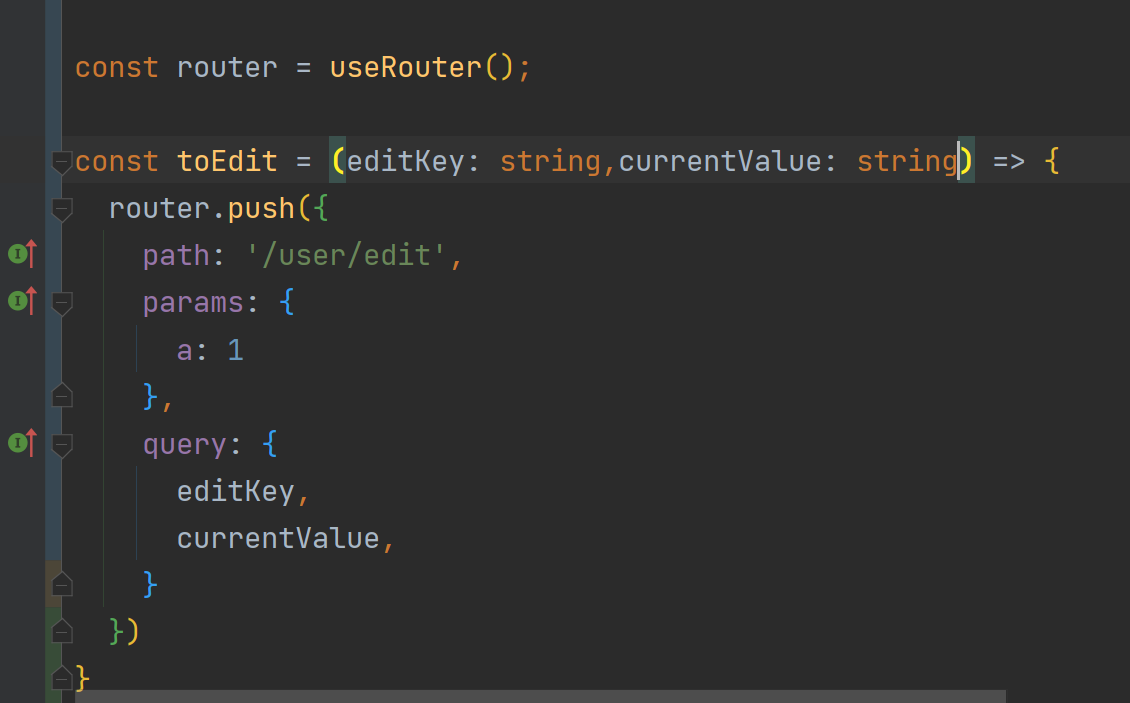
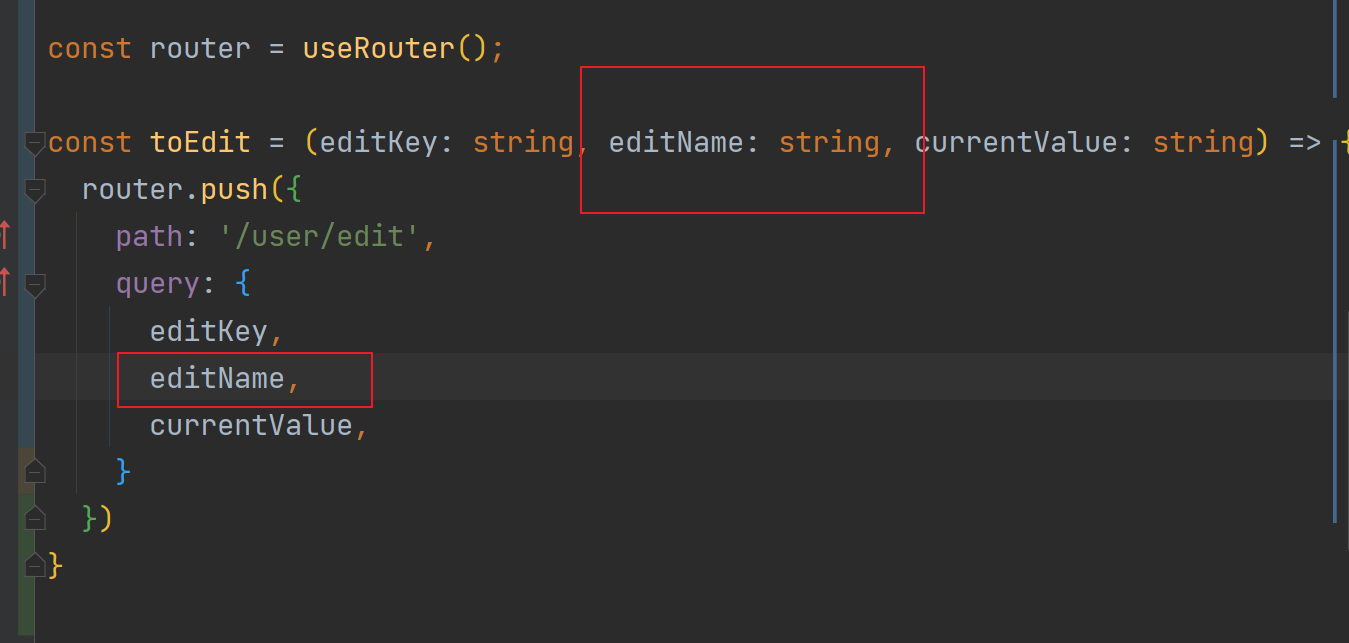
</script>同时别忘了这里多传了一个参数,在UserPage.vue里进行修改 
 修改以前不完善的地方,按左边返回按钮会重定向到首页,我们目标是回到上一页 ,修改这个地方
 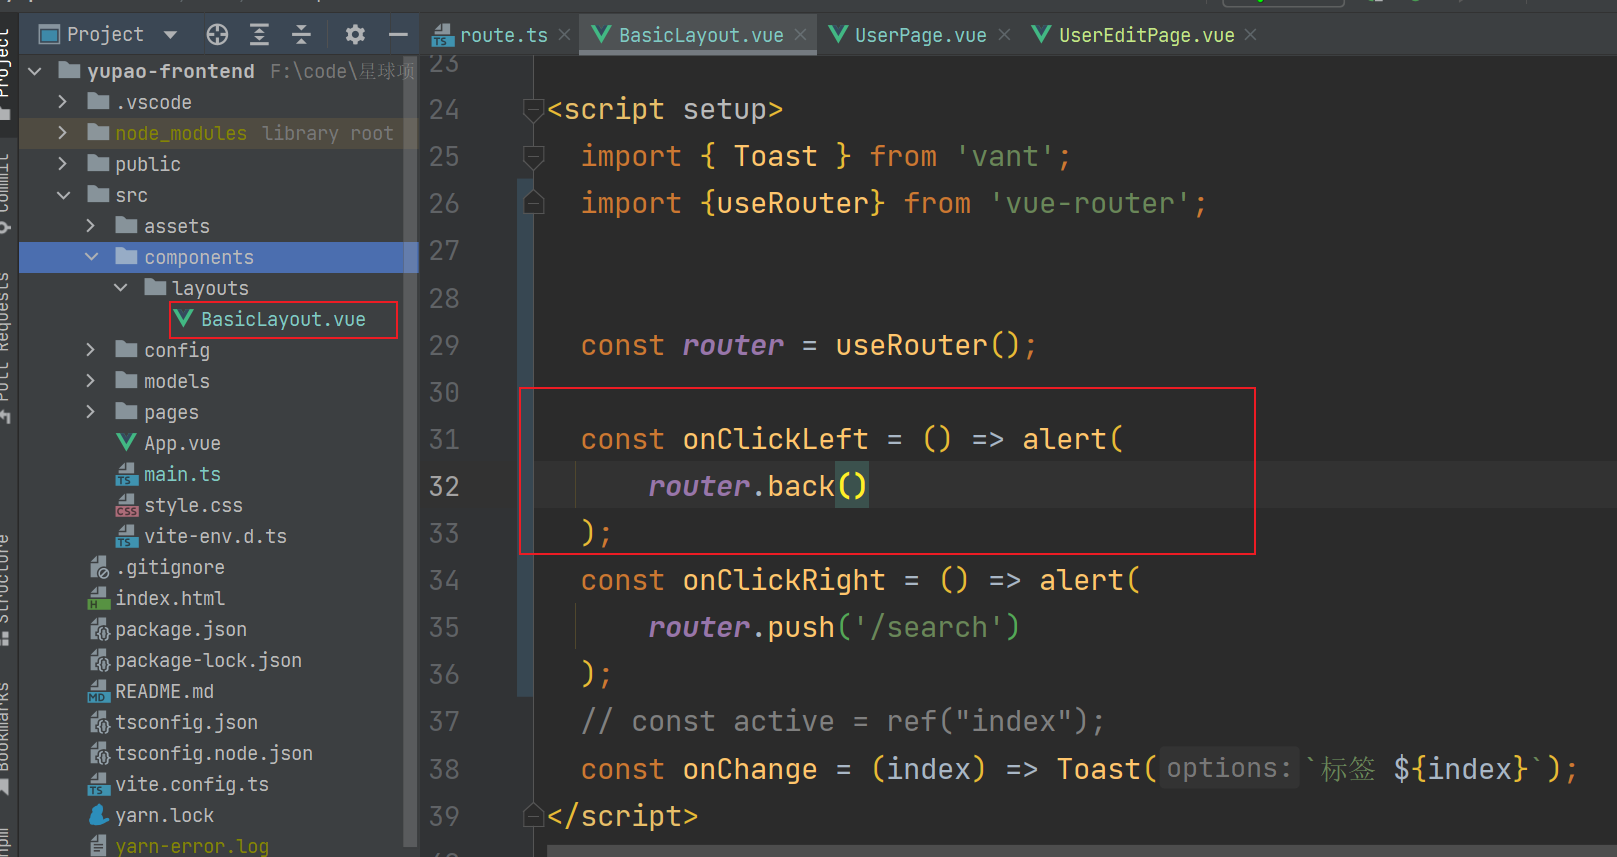 测试如下,修改页获得,点击提交,数据也获得,返回也正常